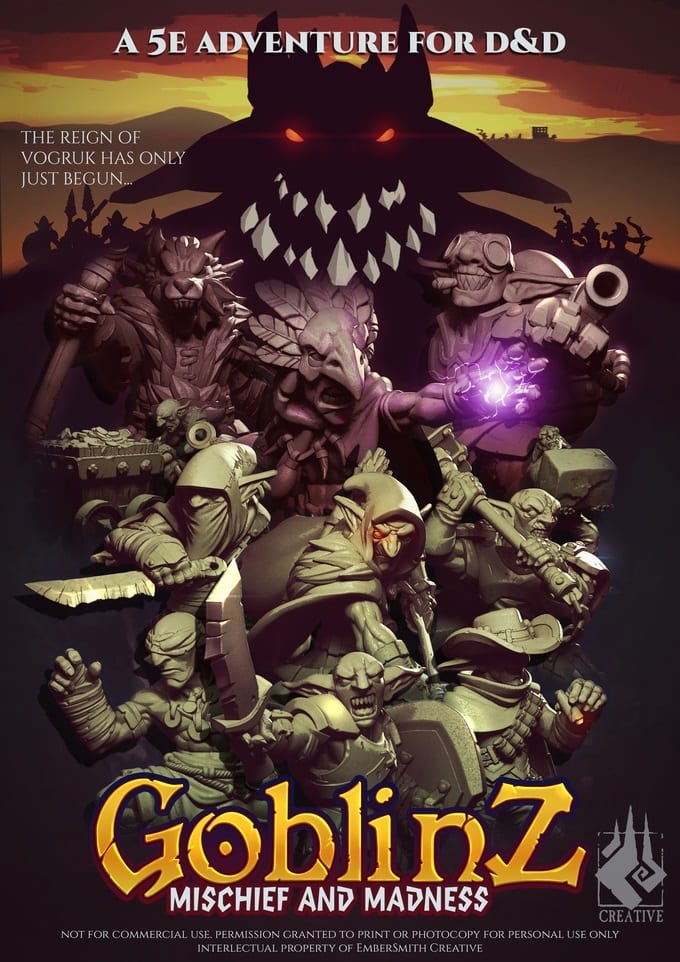
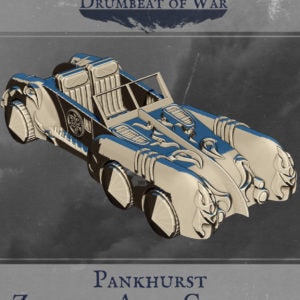
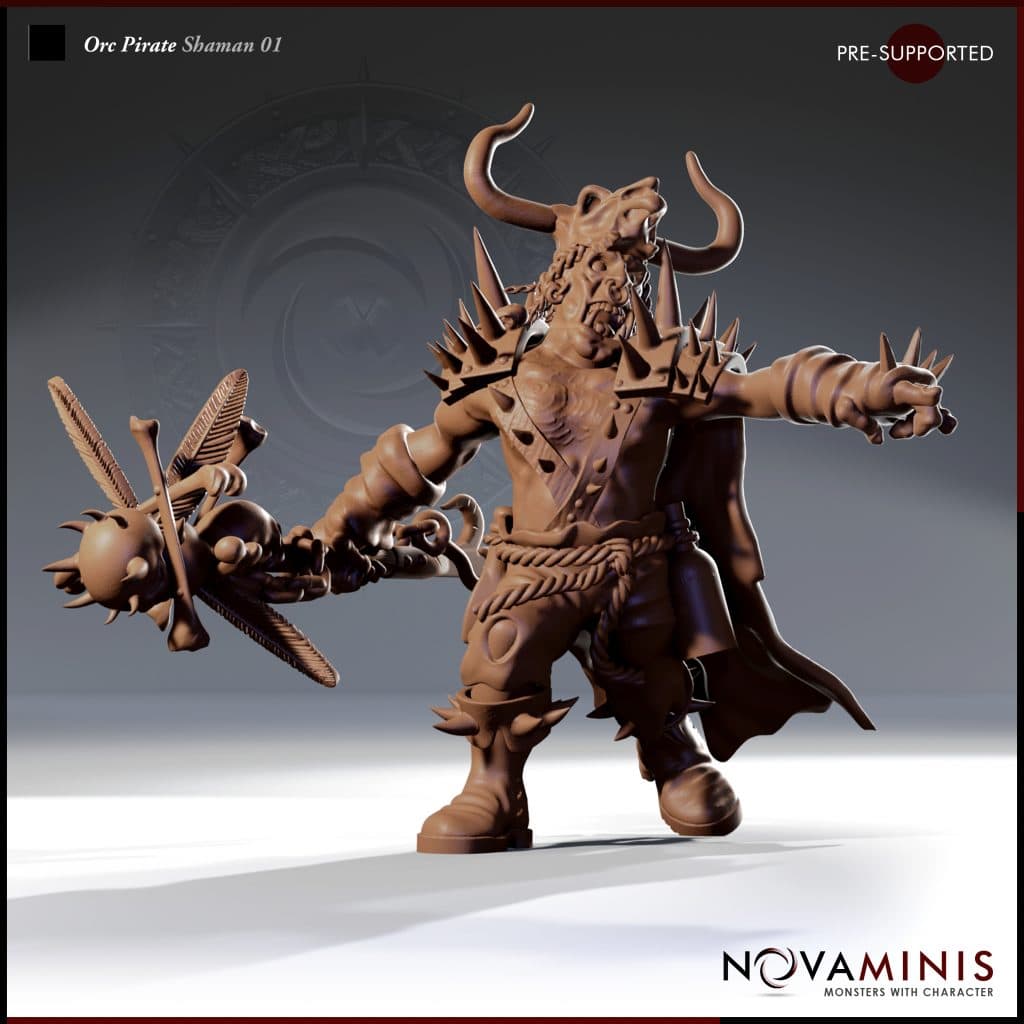
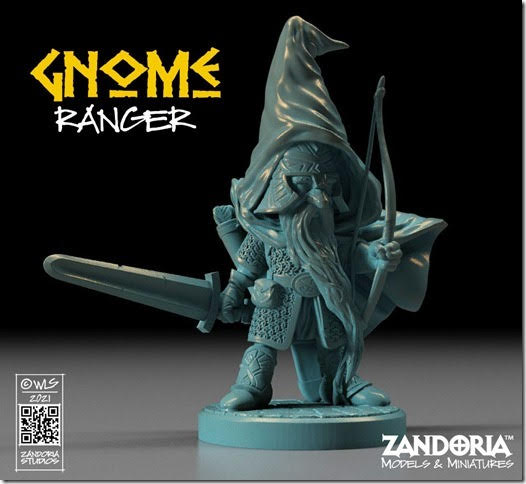
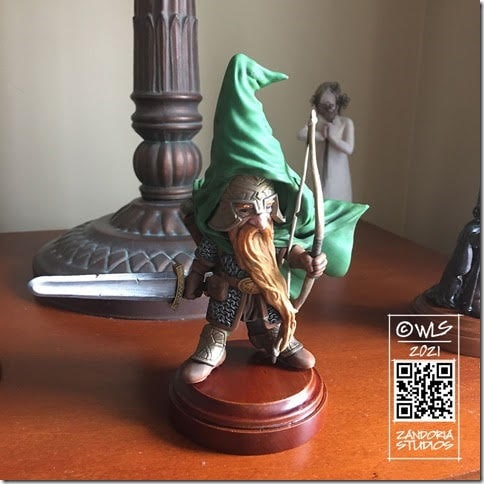
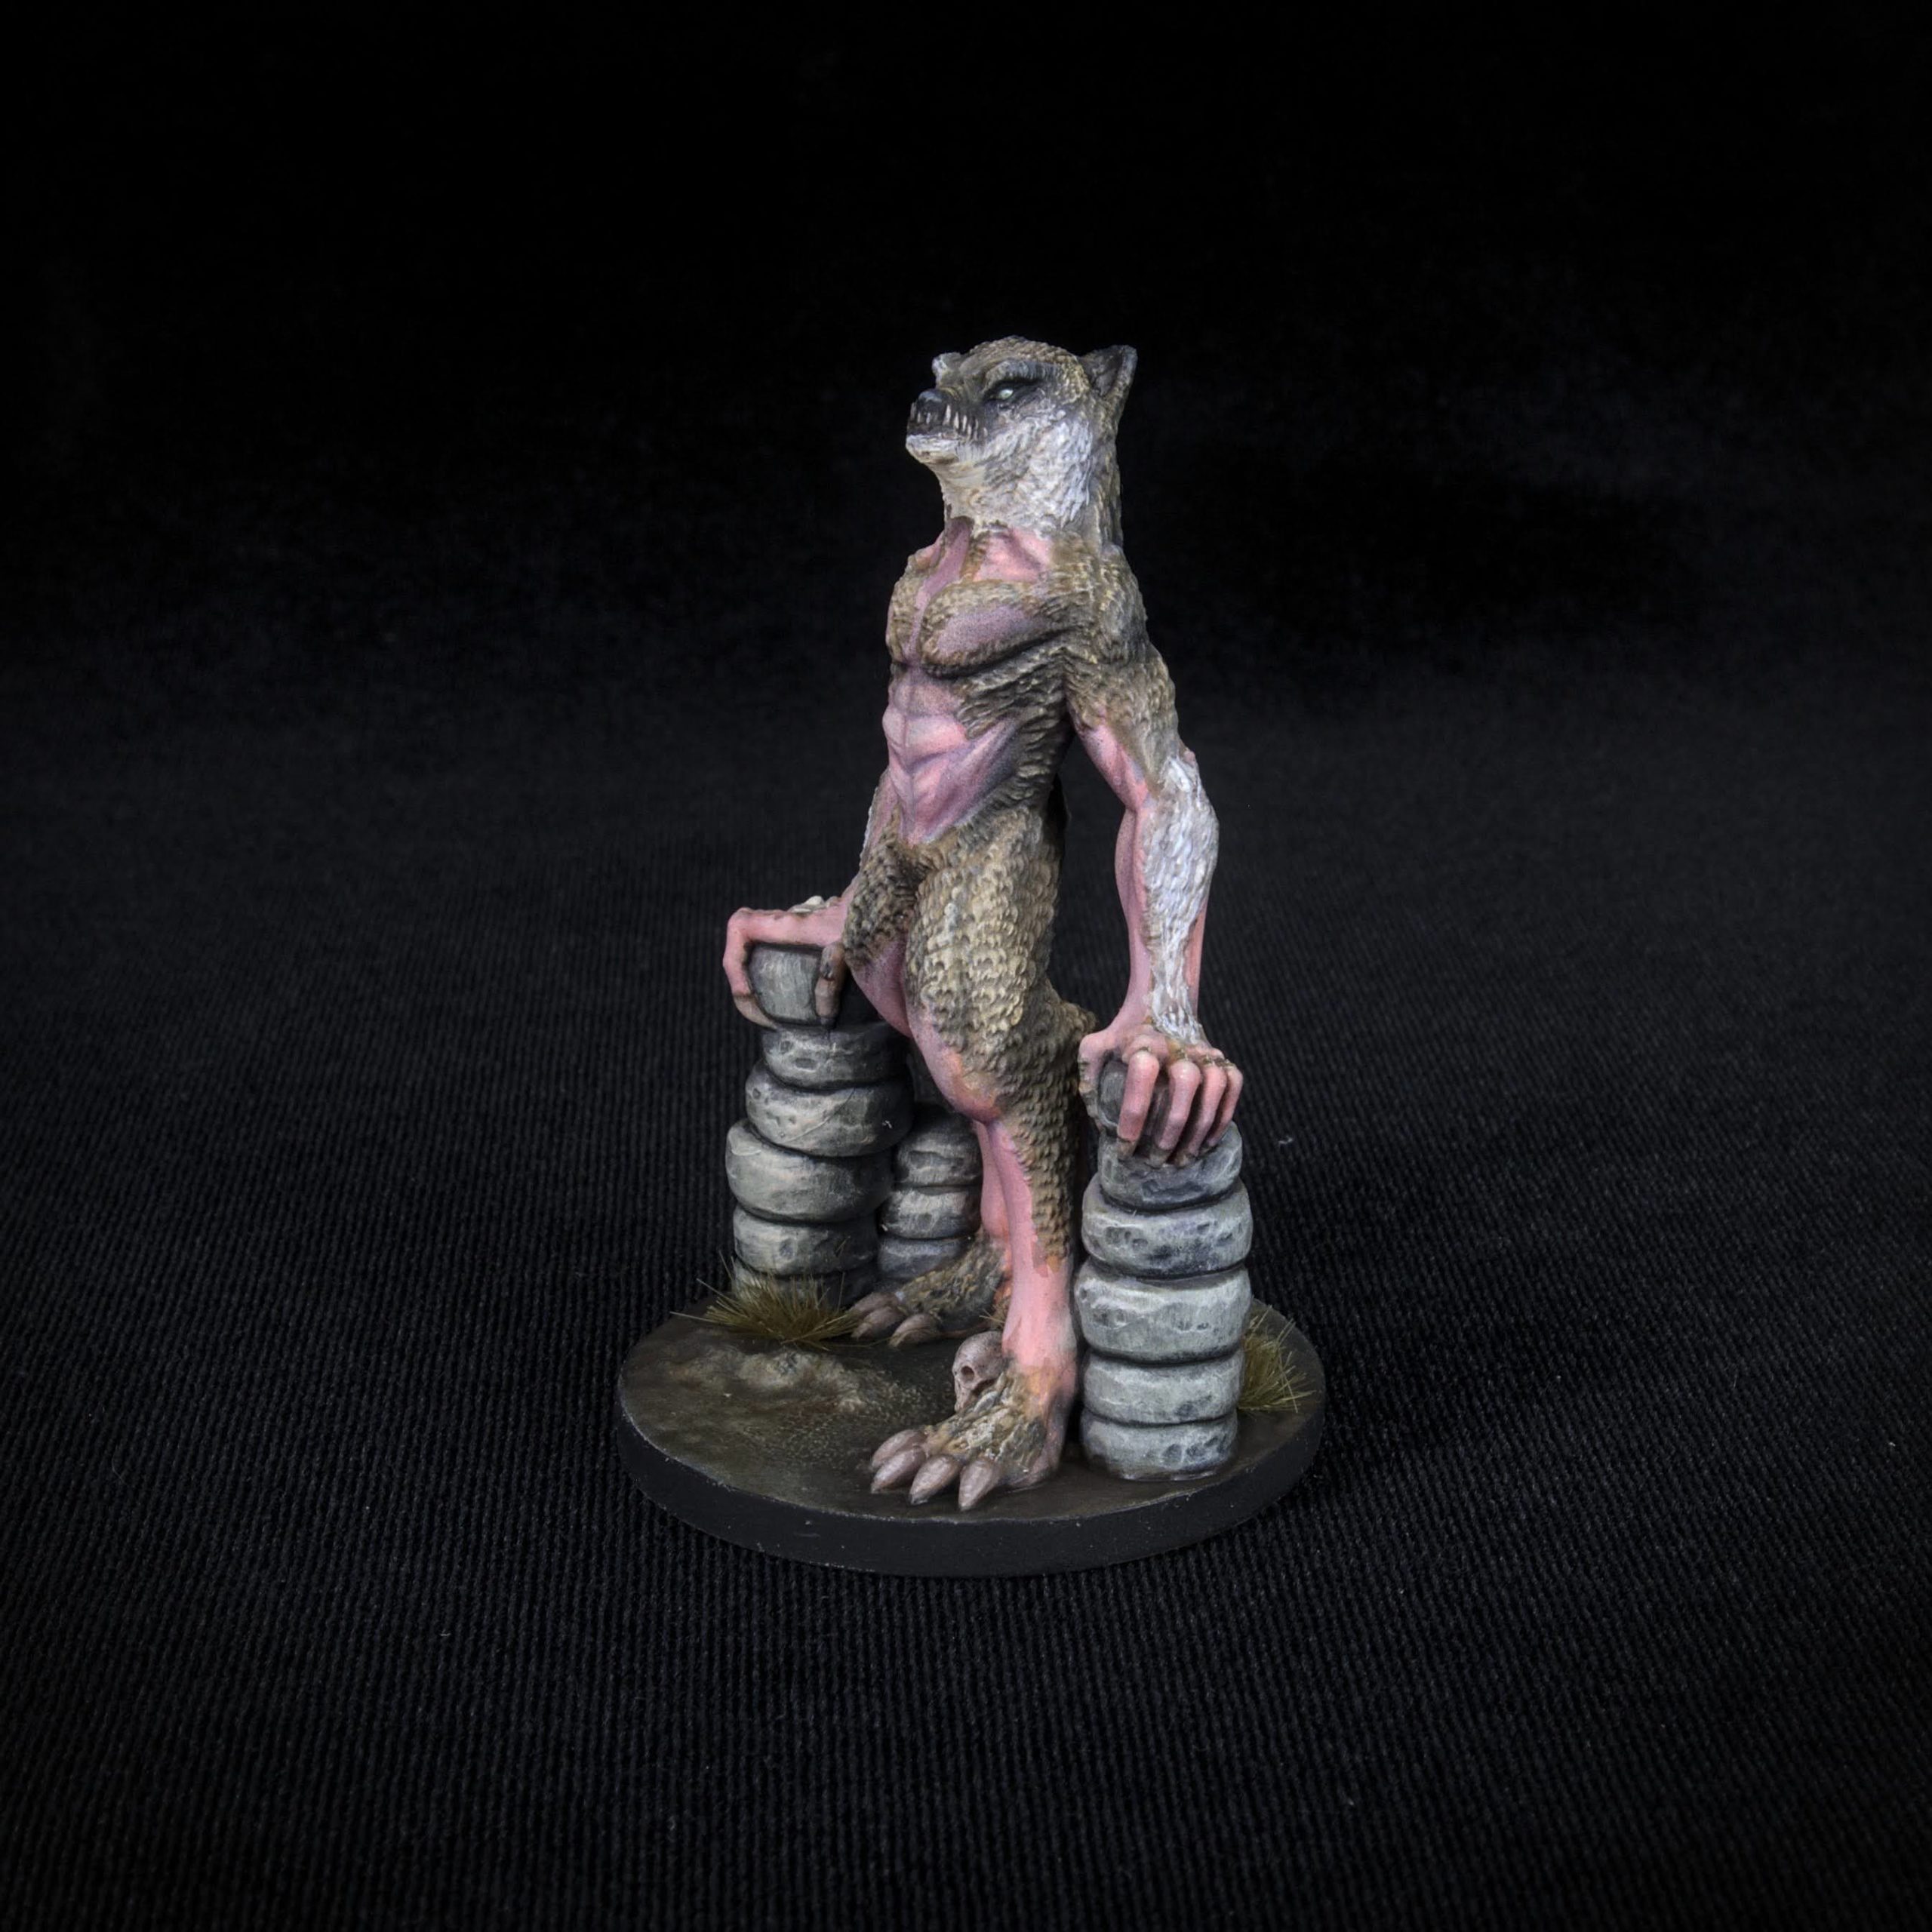
Aaaaaaaaand we’re back with another artist spotlight! This month we had the pleasure of chatting with our friend Ash from Ember Smith Creative. He’s a seasoned 3D sculptor with experience in the game industry as well as 3D printable miniatures. He also happens to be a veteran of two successful Kickstarter campaigns (one that’s currently running right now featuring some incredibly unique goblins), and has a keen sense for business. On a personal note, Ash has done a lot for MiniHoarder, and it was a true pleasure to speak with someone that is not only invested in mastering his craft, but spends a lot of time thinking of ways to enrich the market for artists and creators.
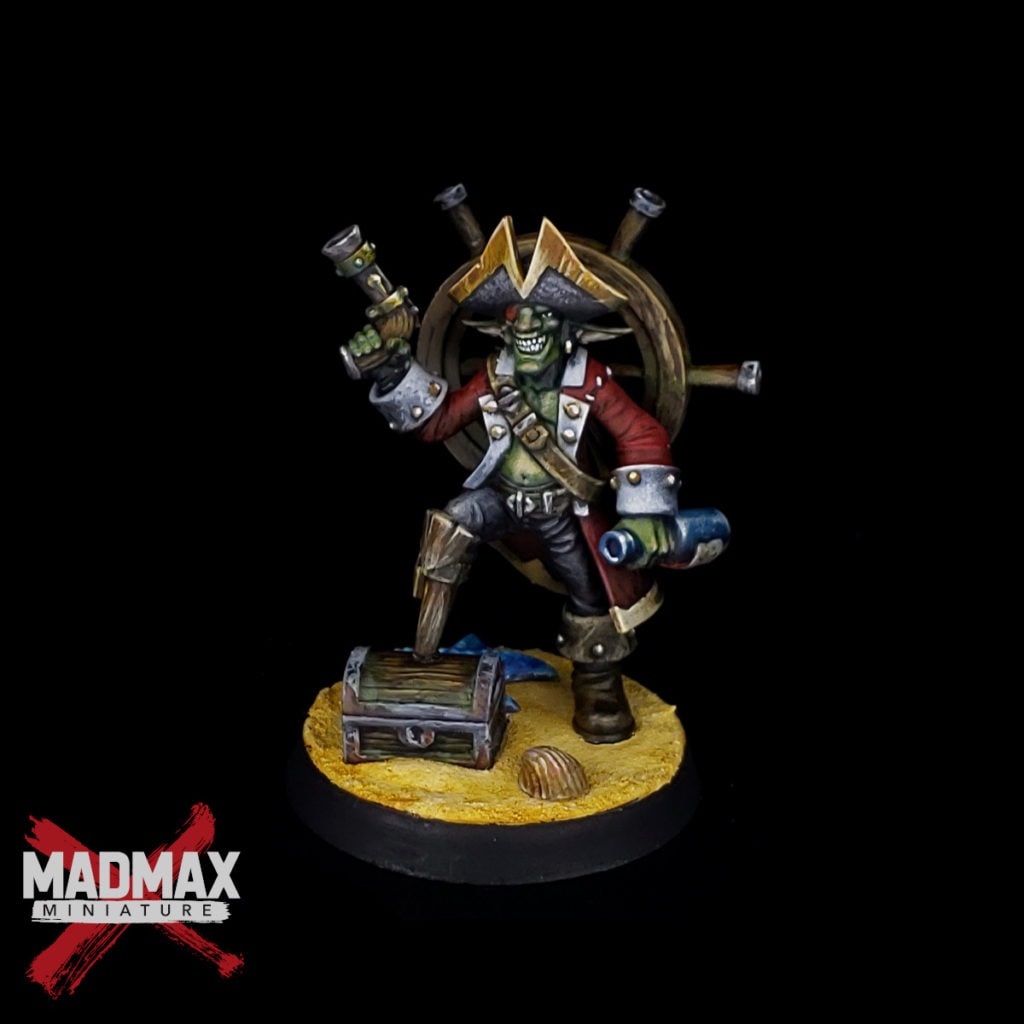
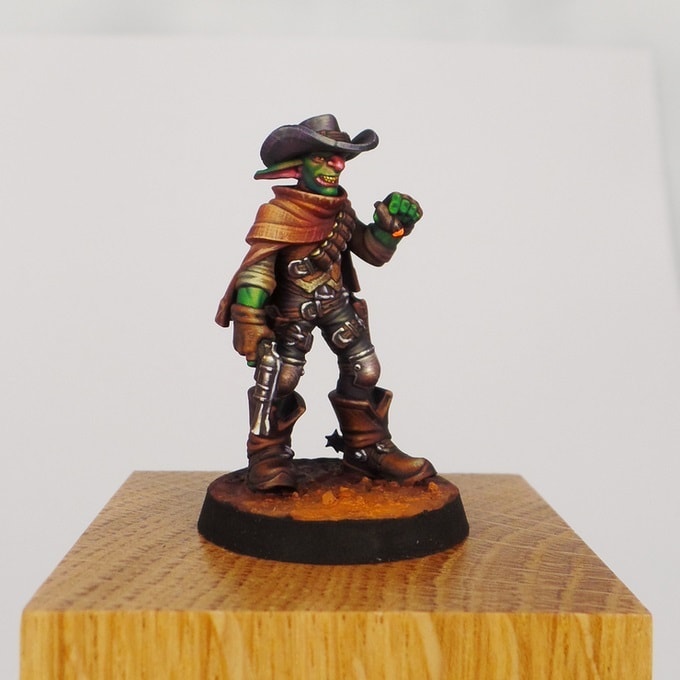
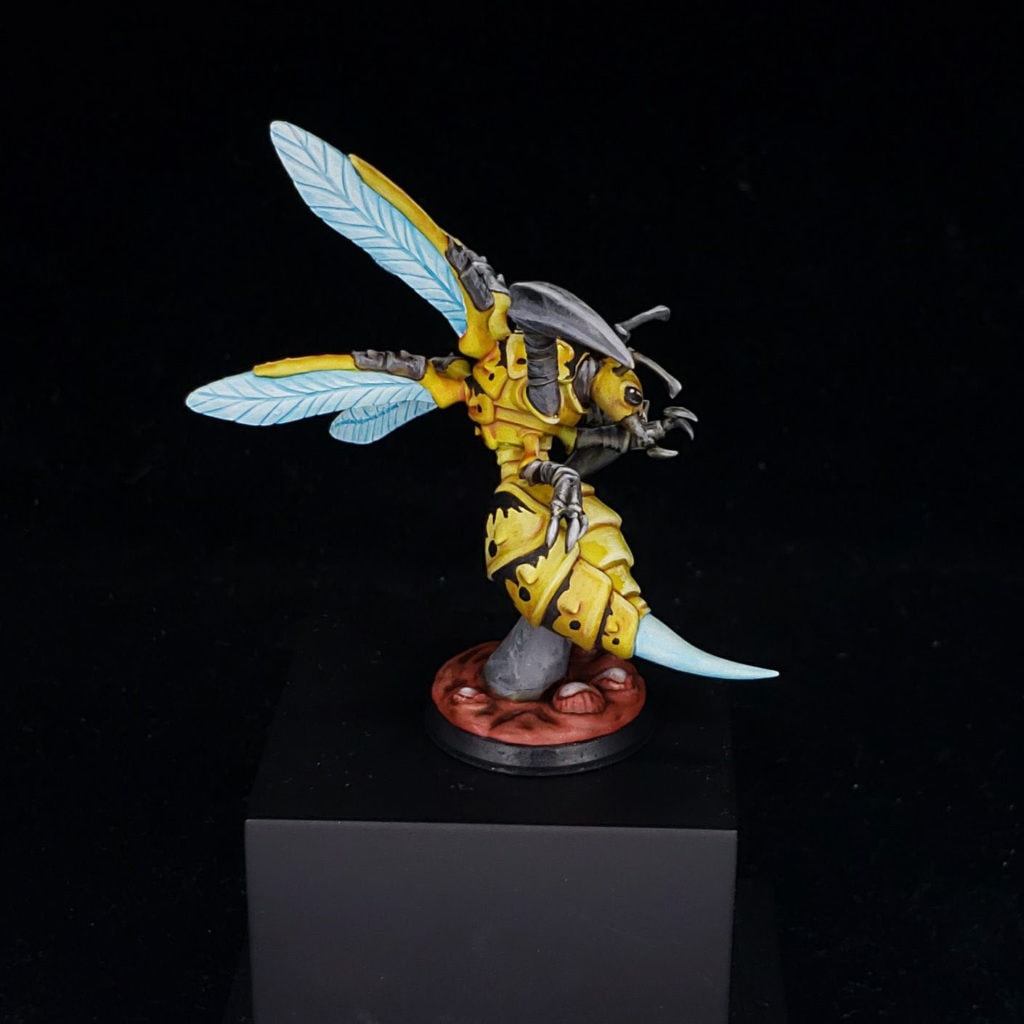
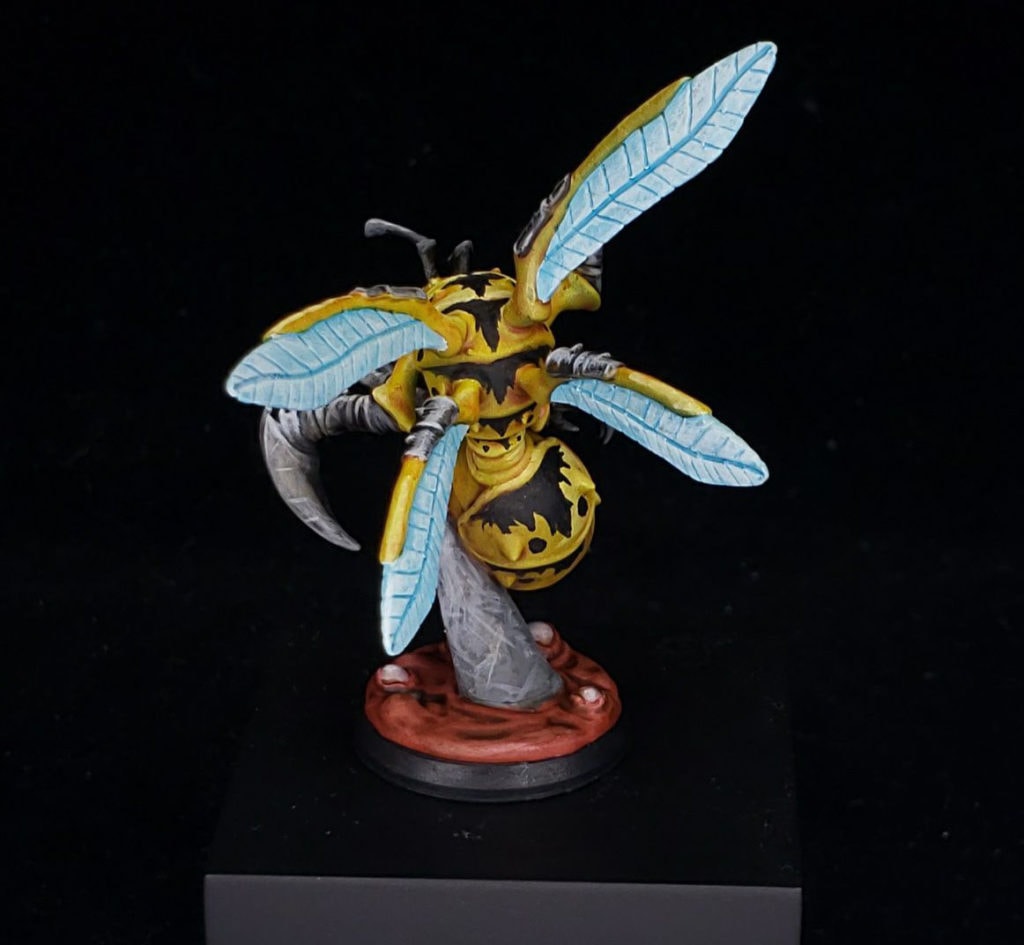
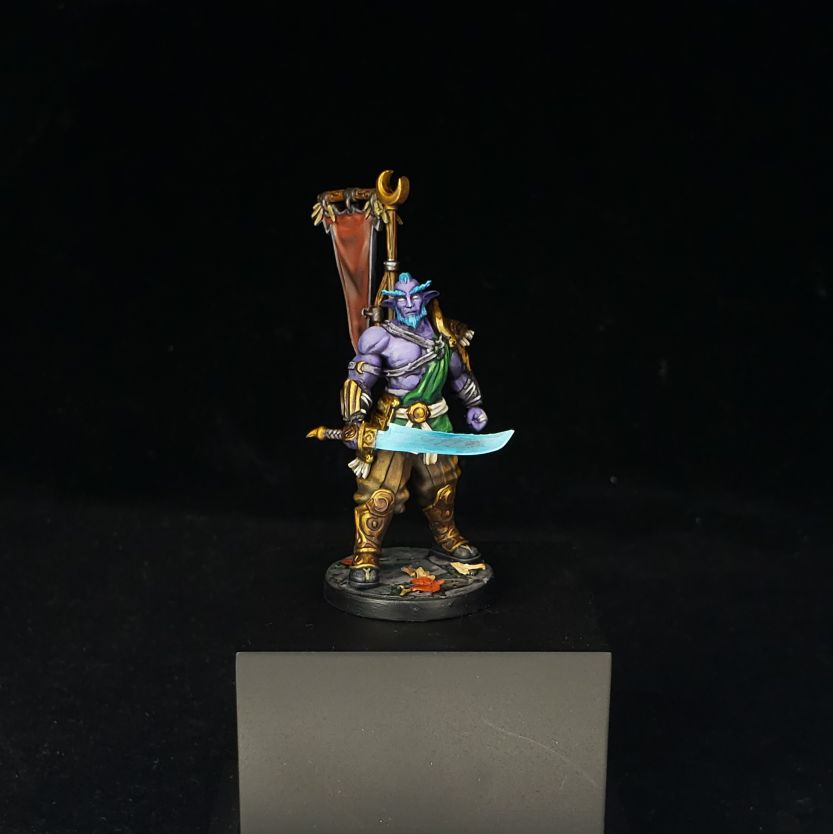
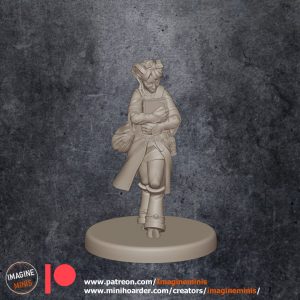
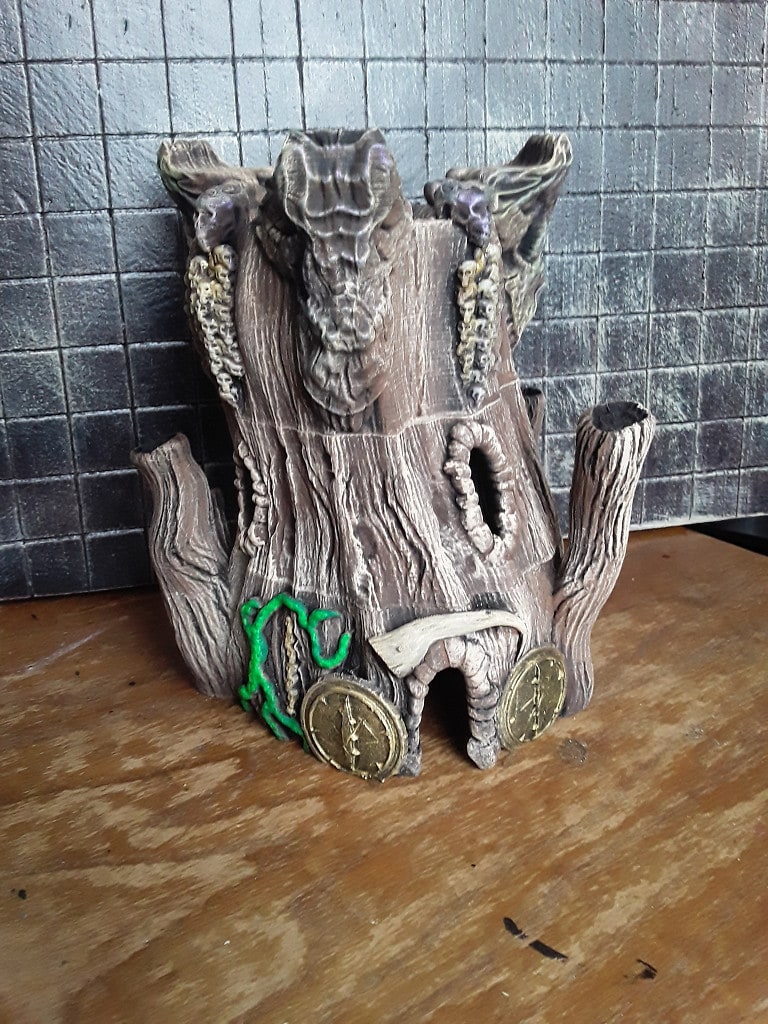
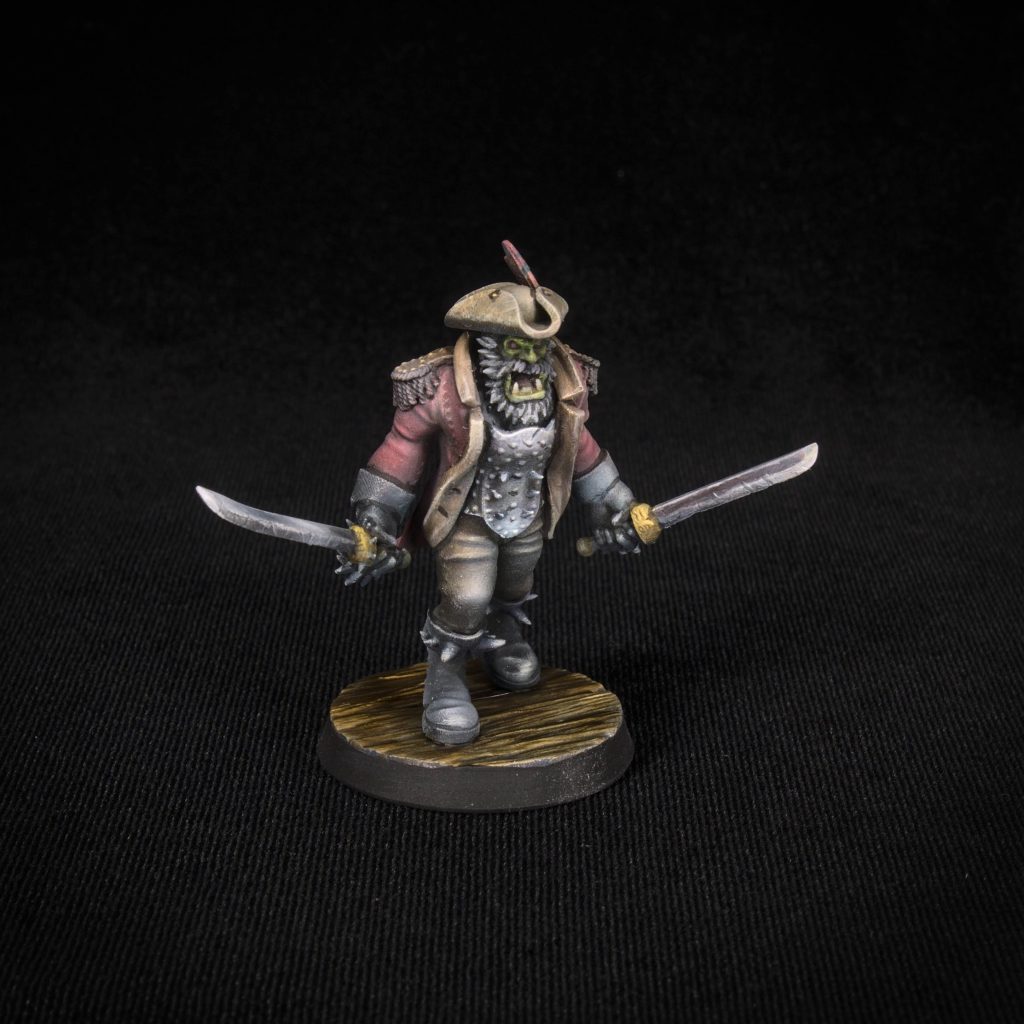
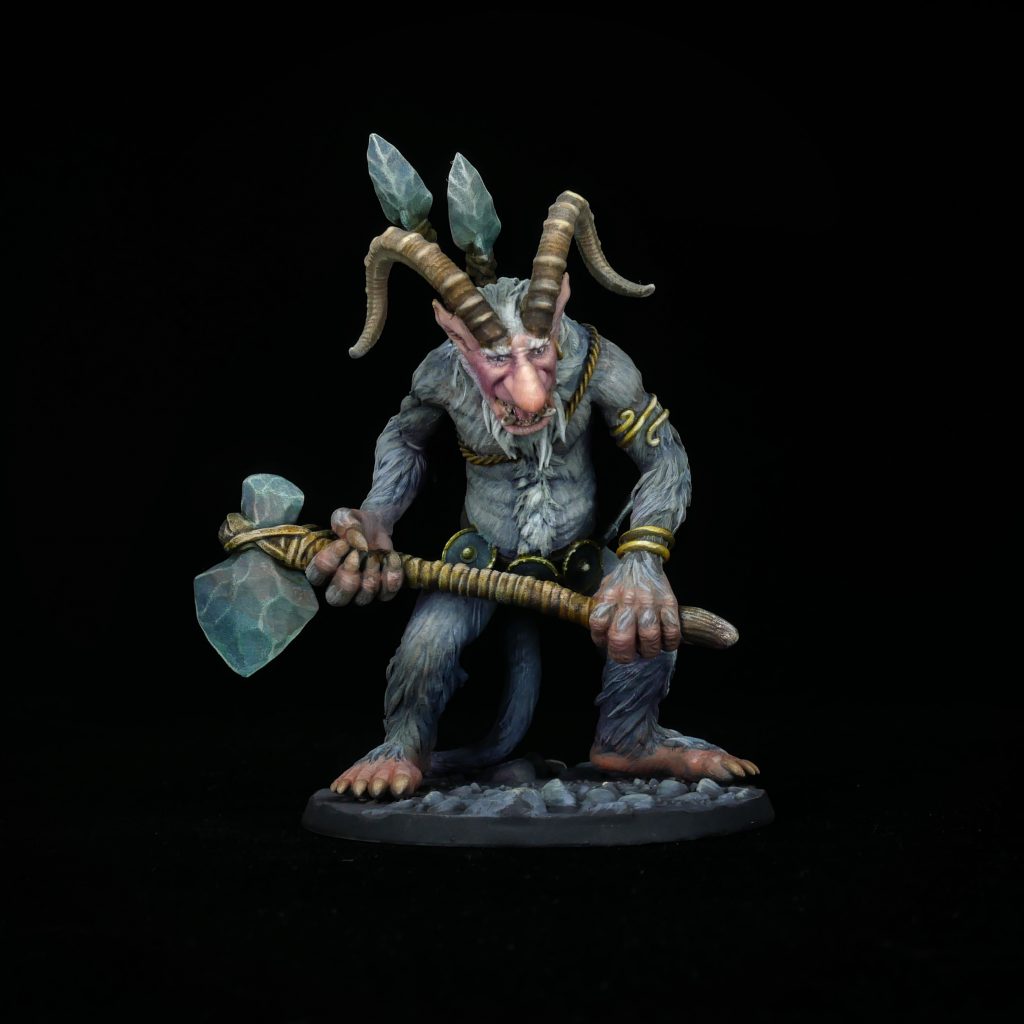
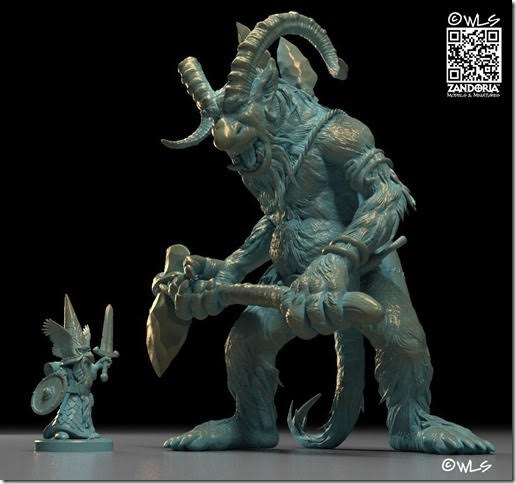
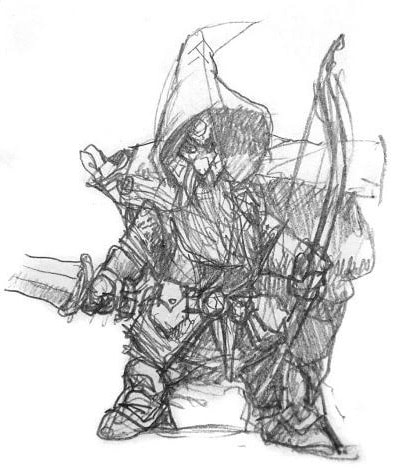
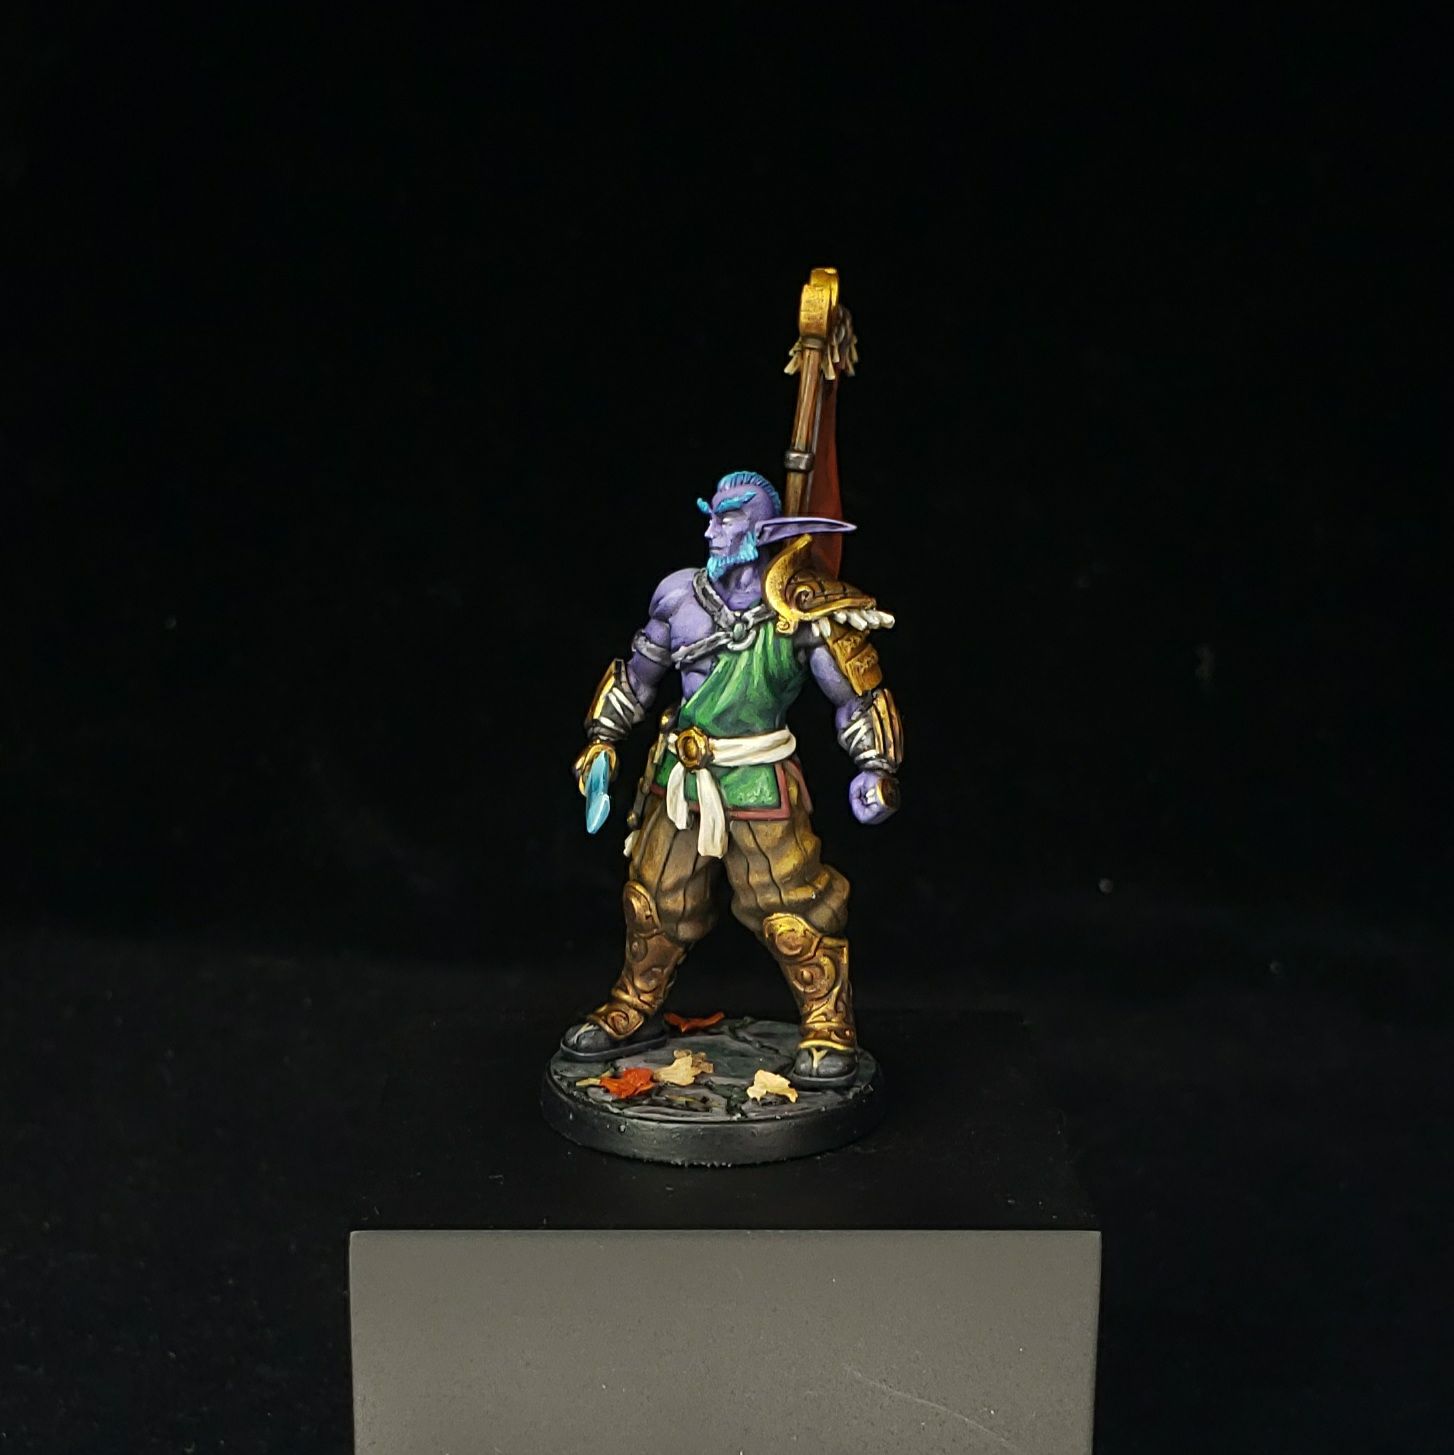
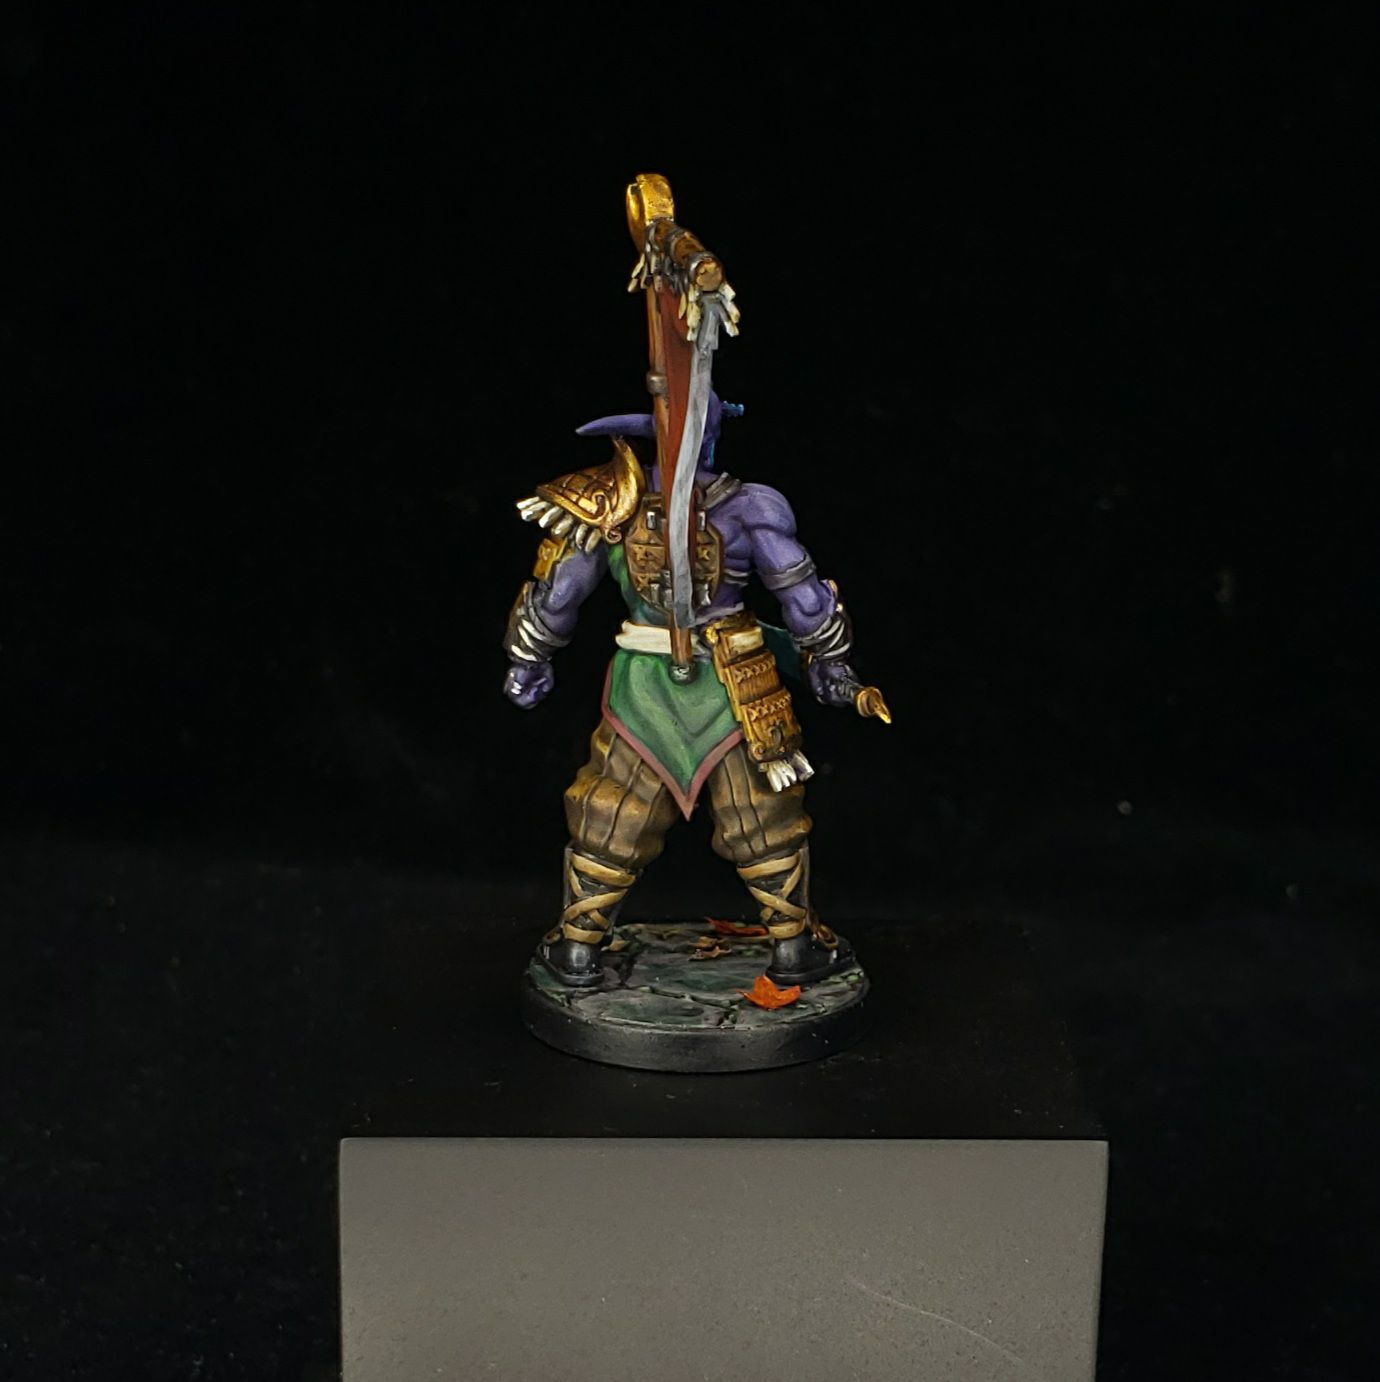
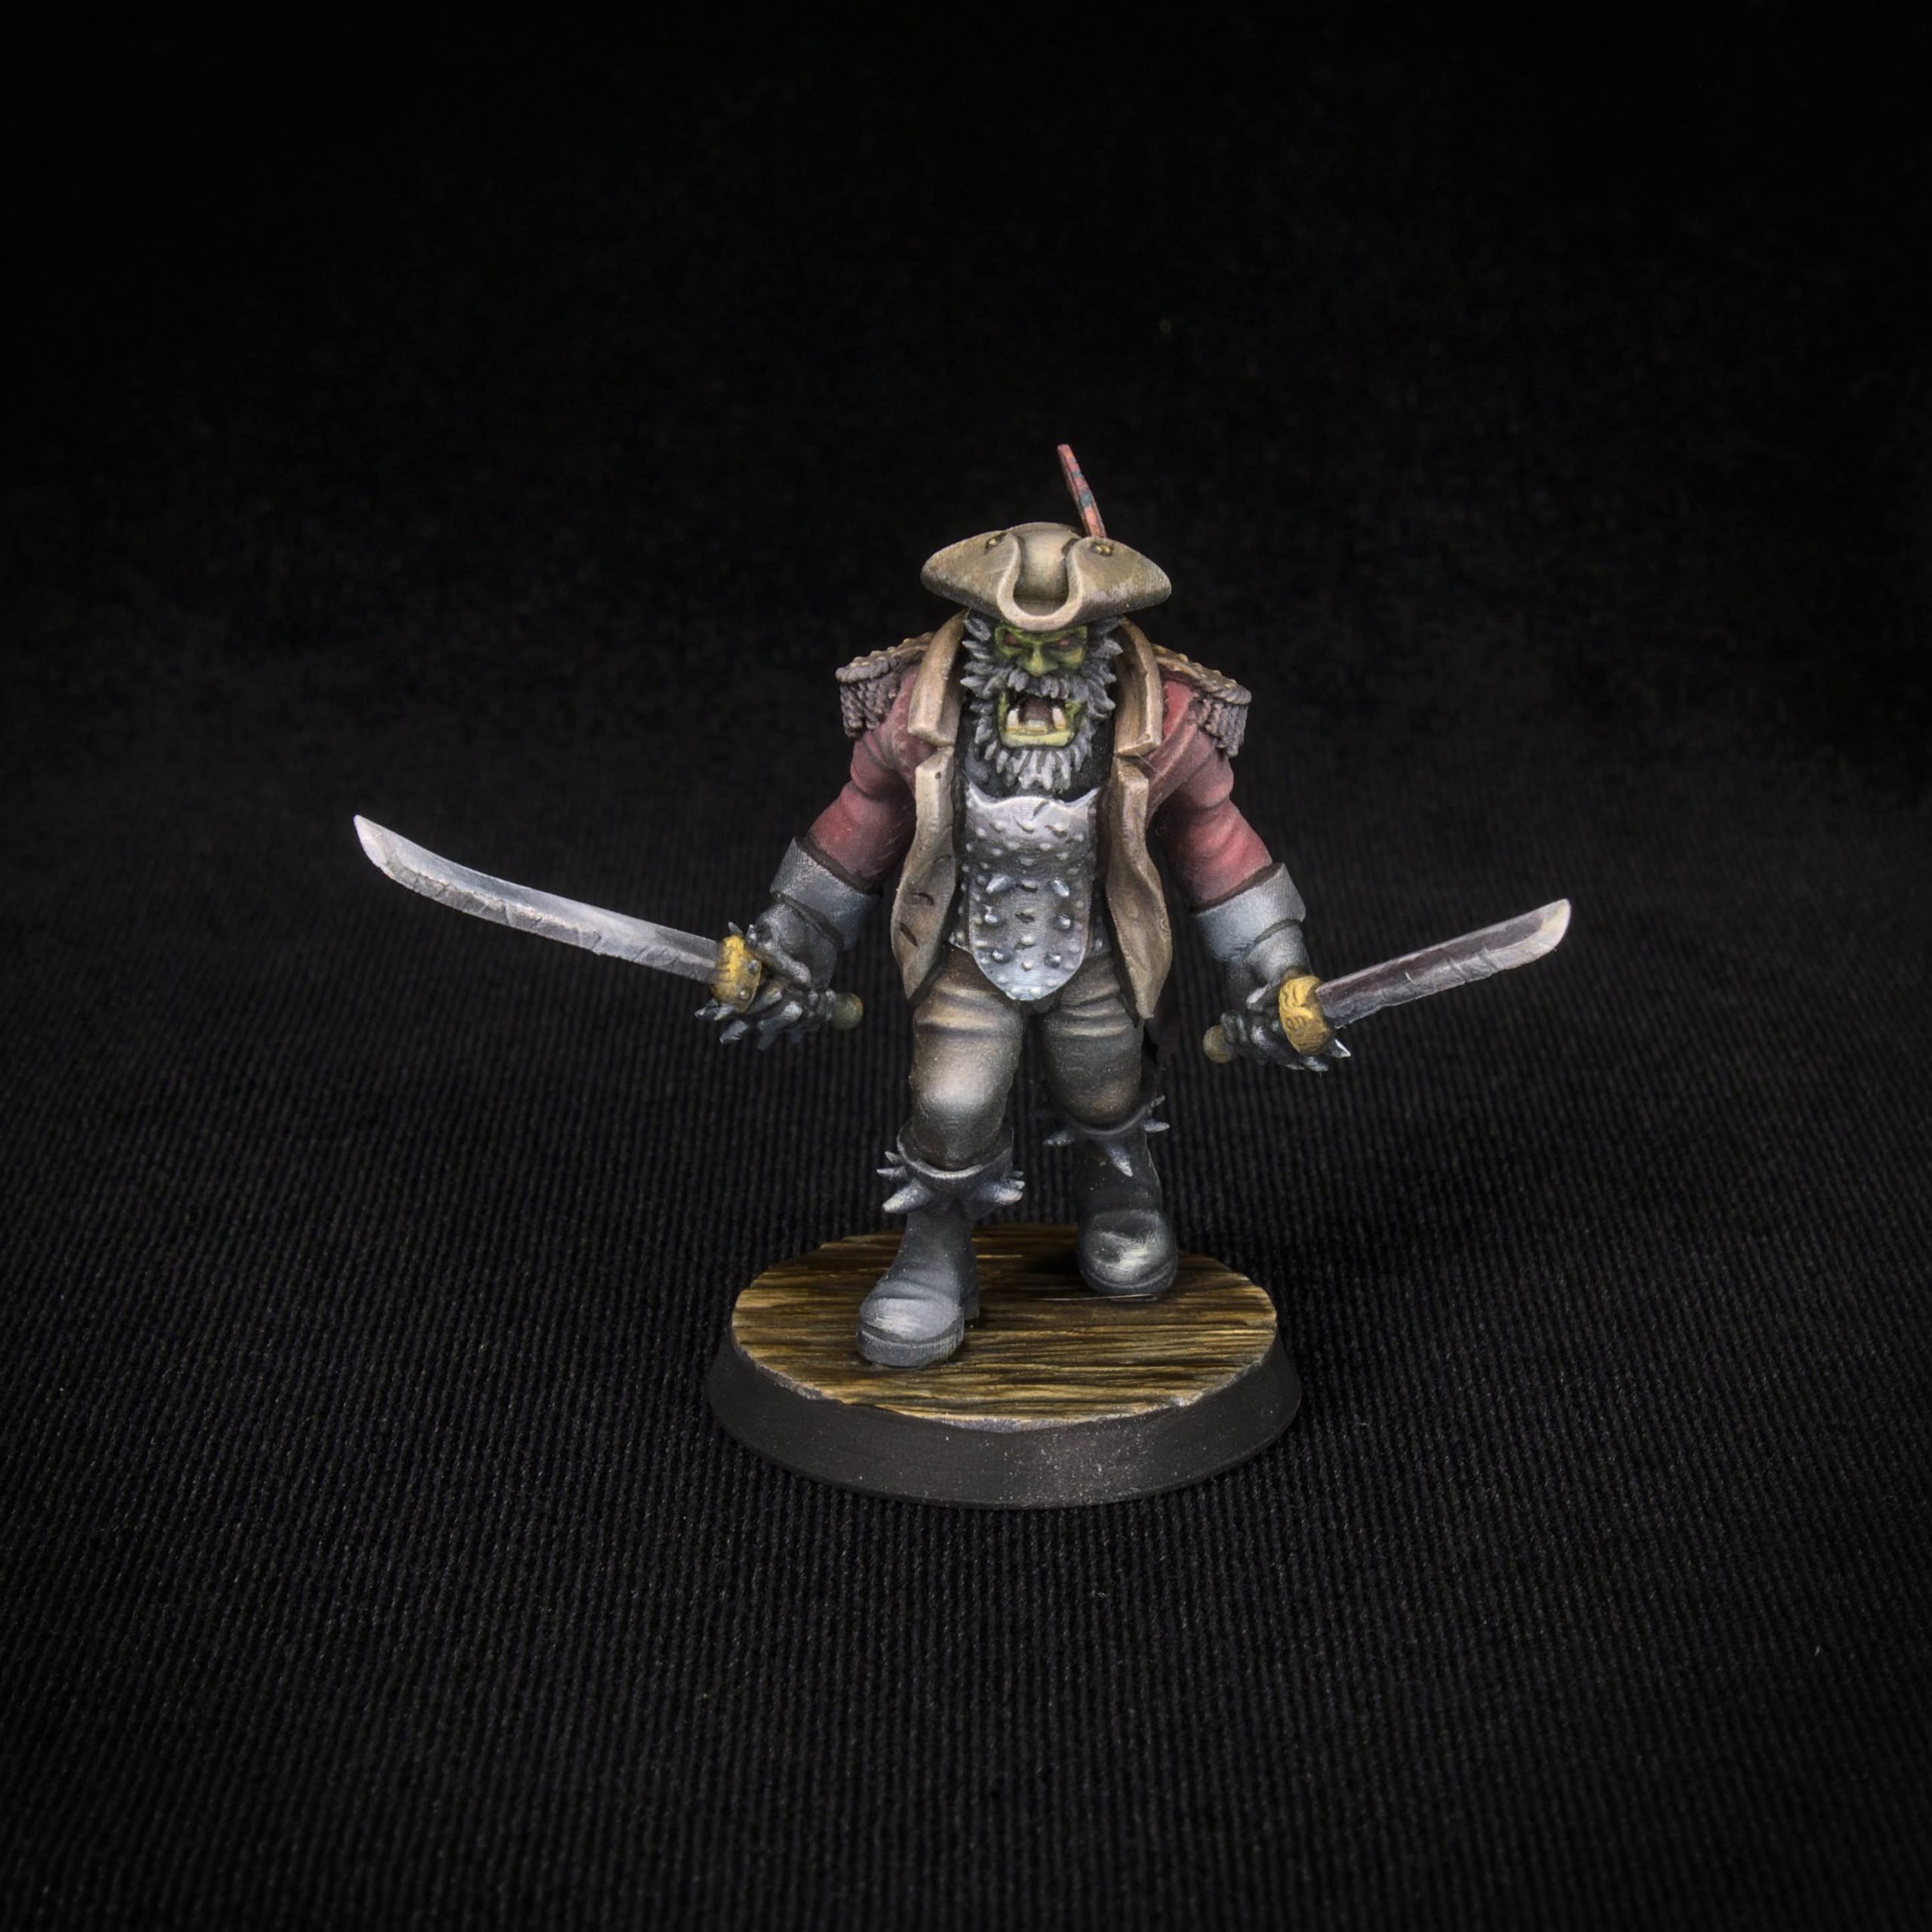
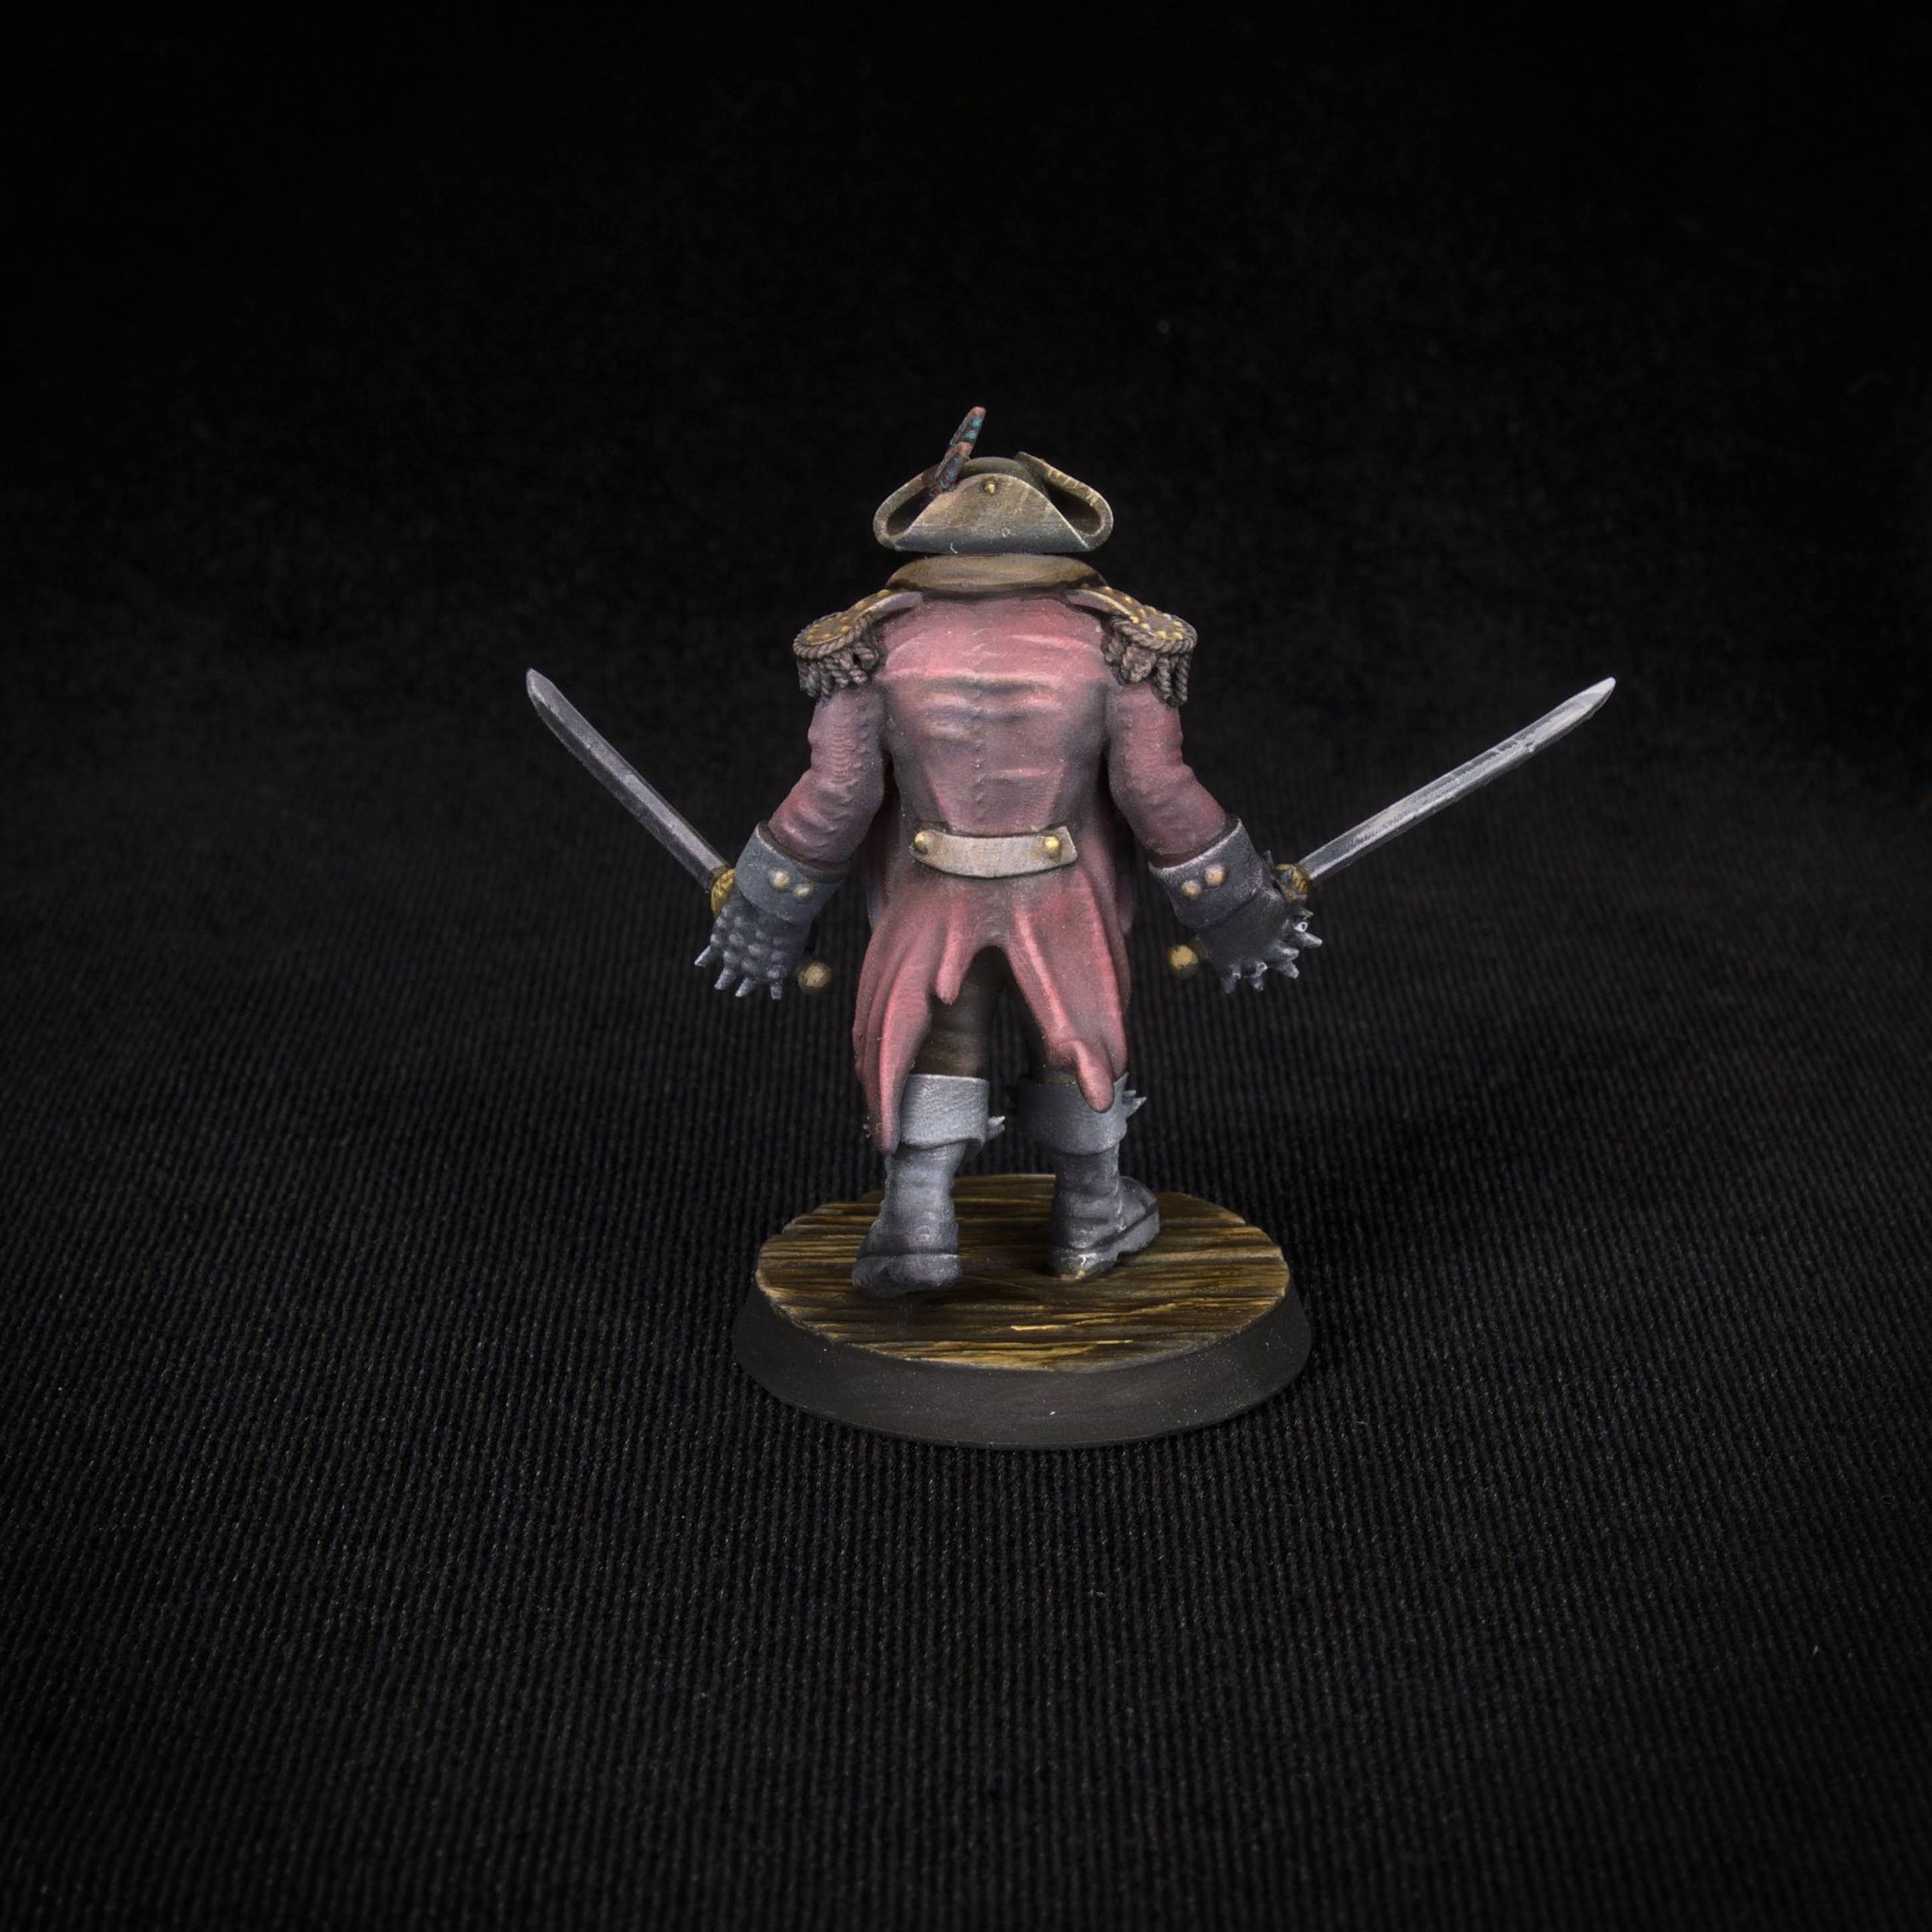
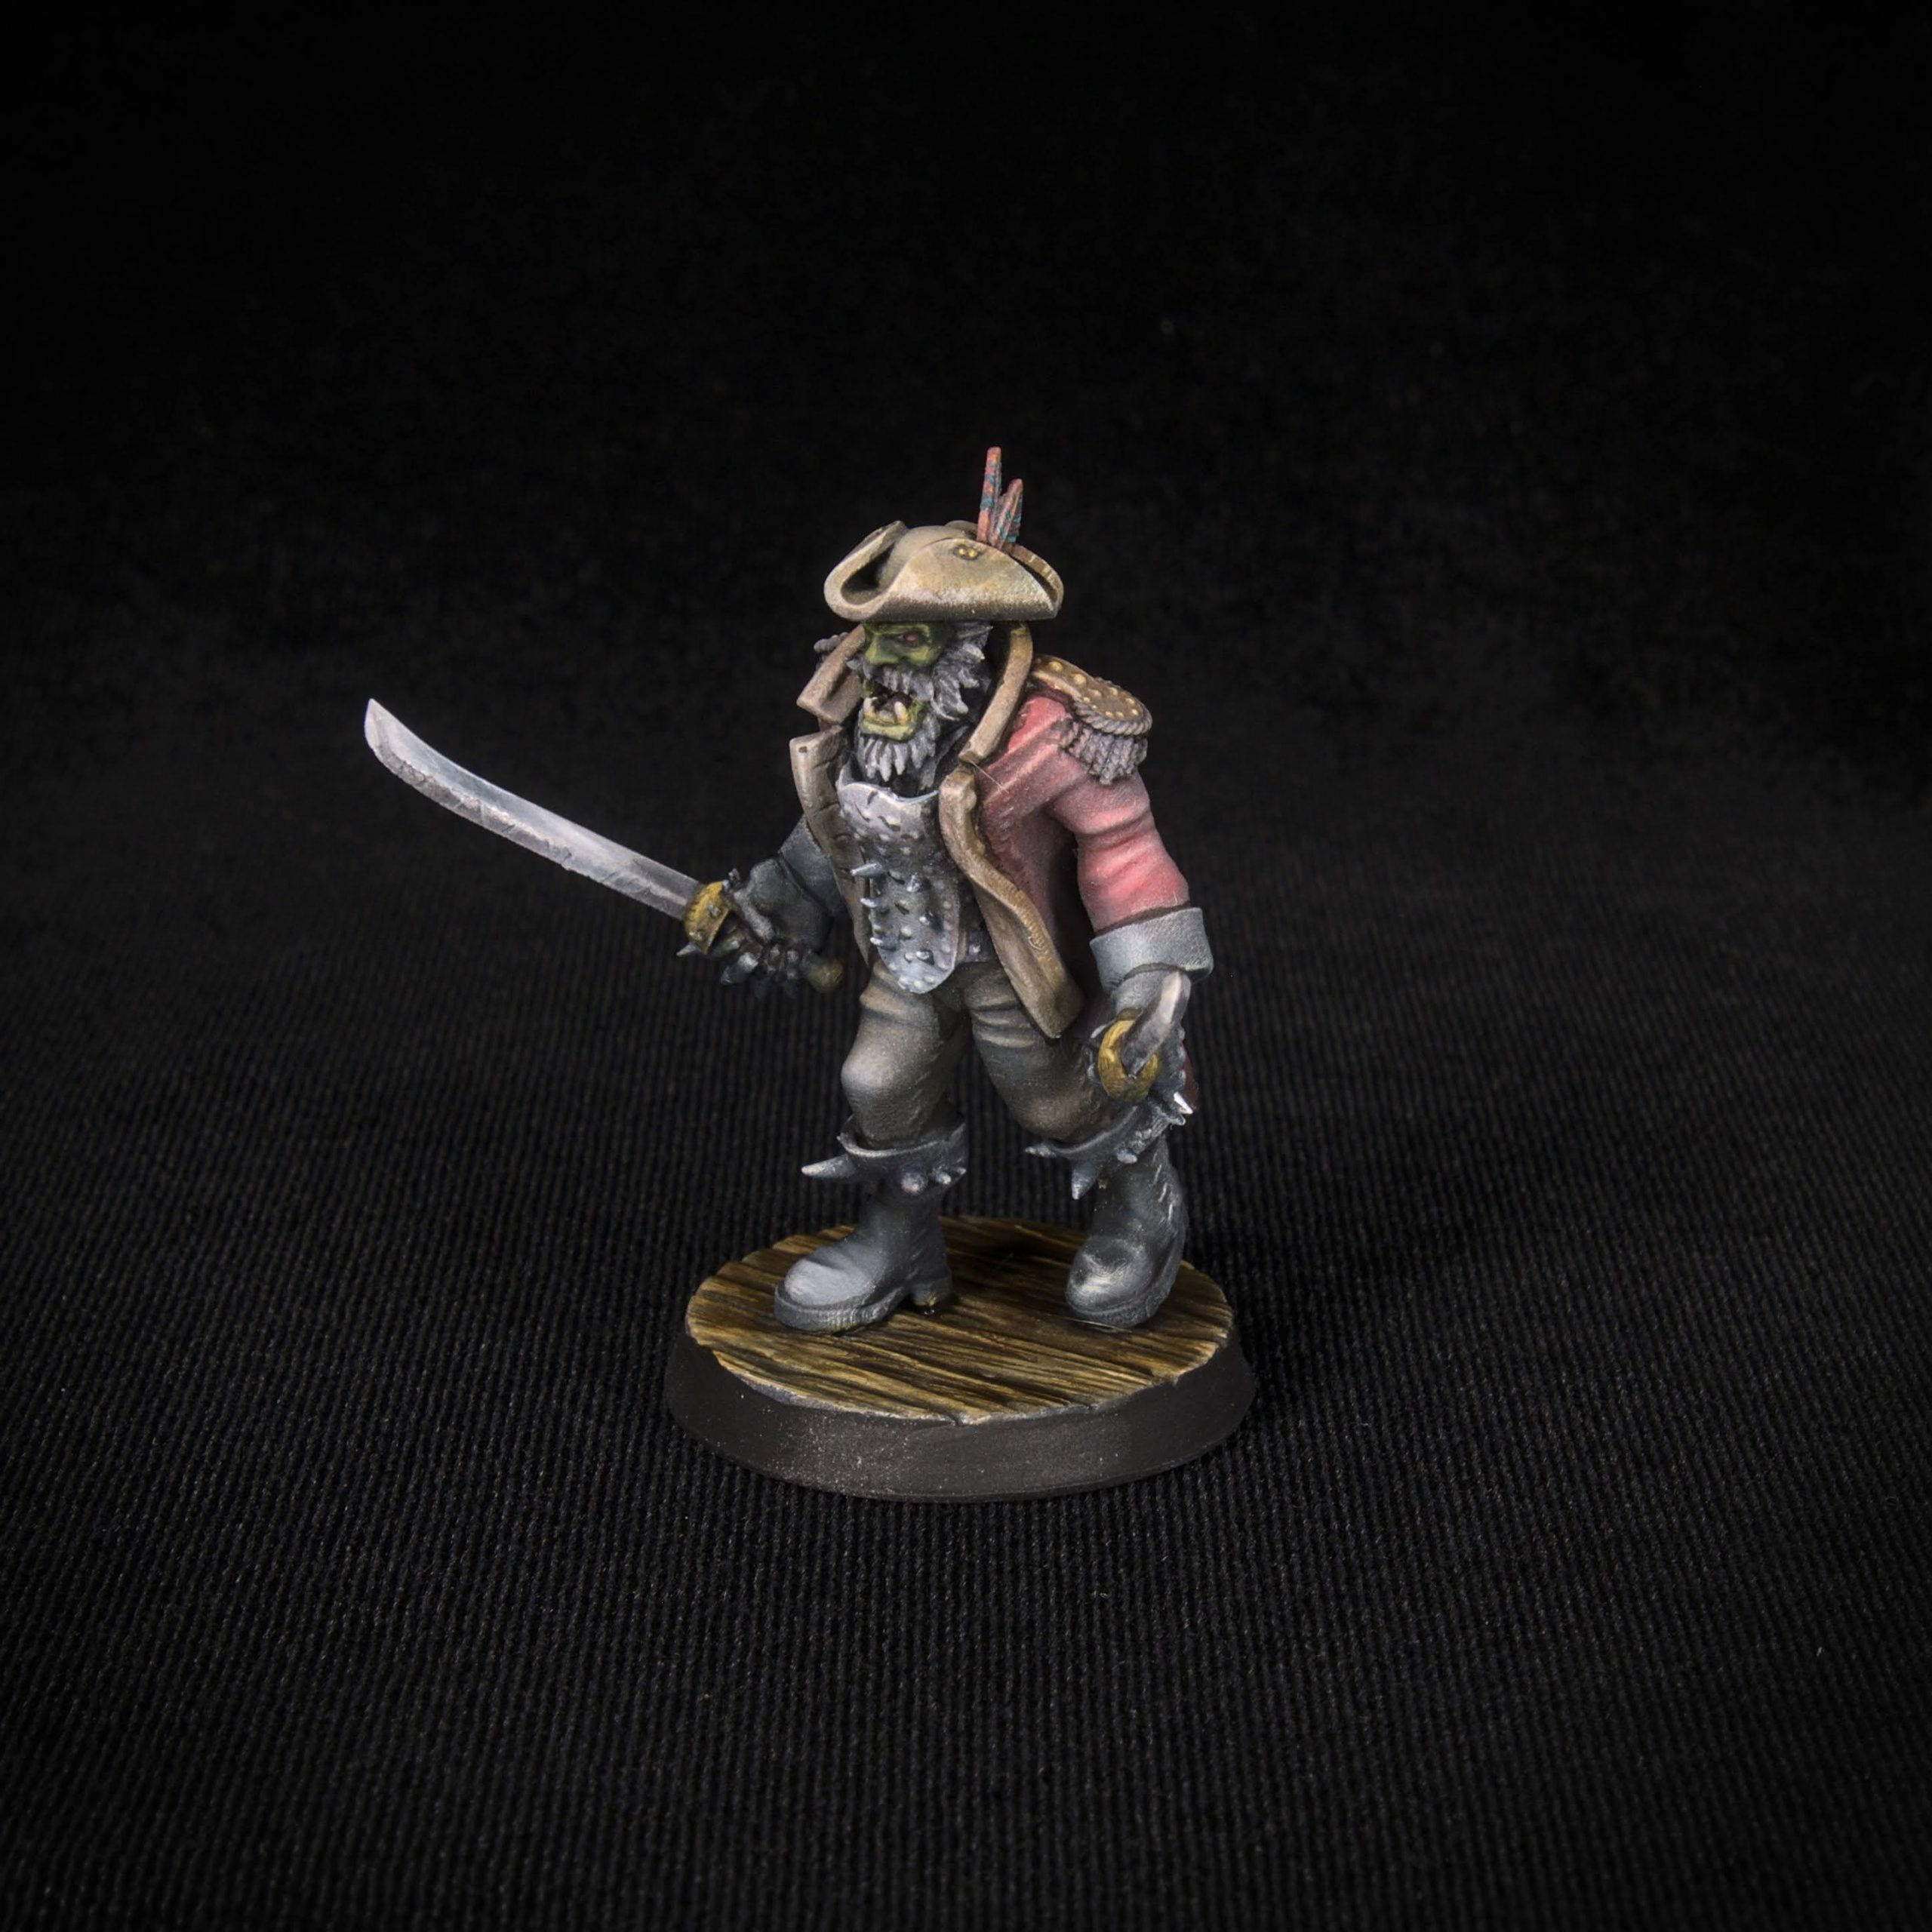
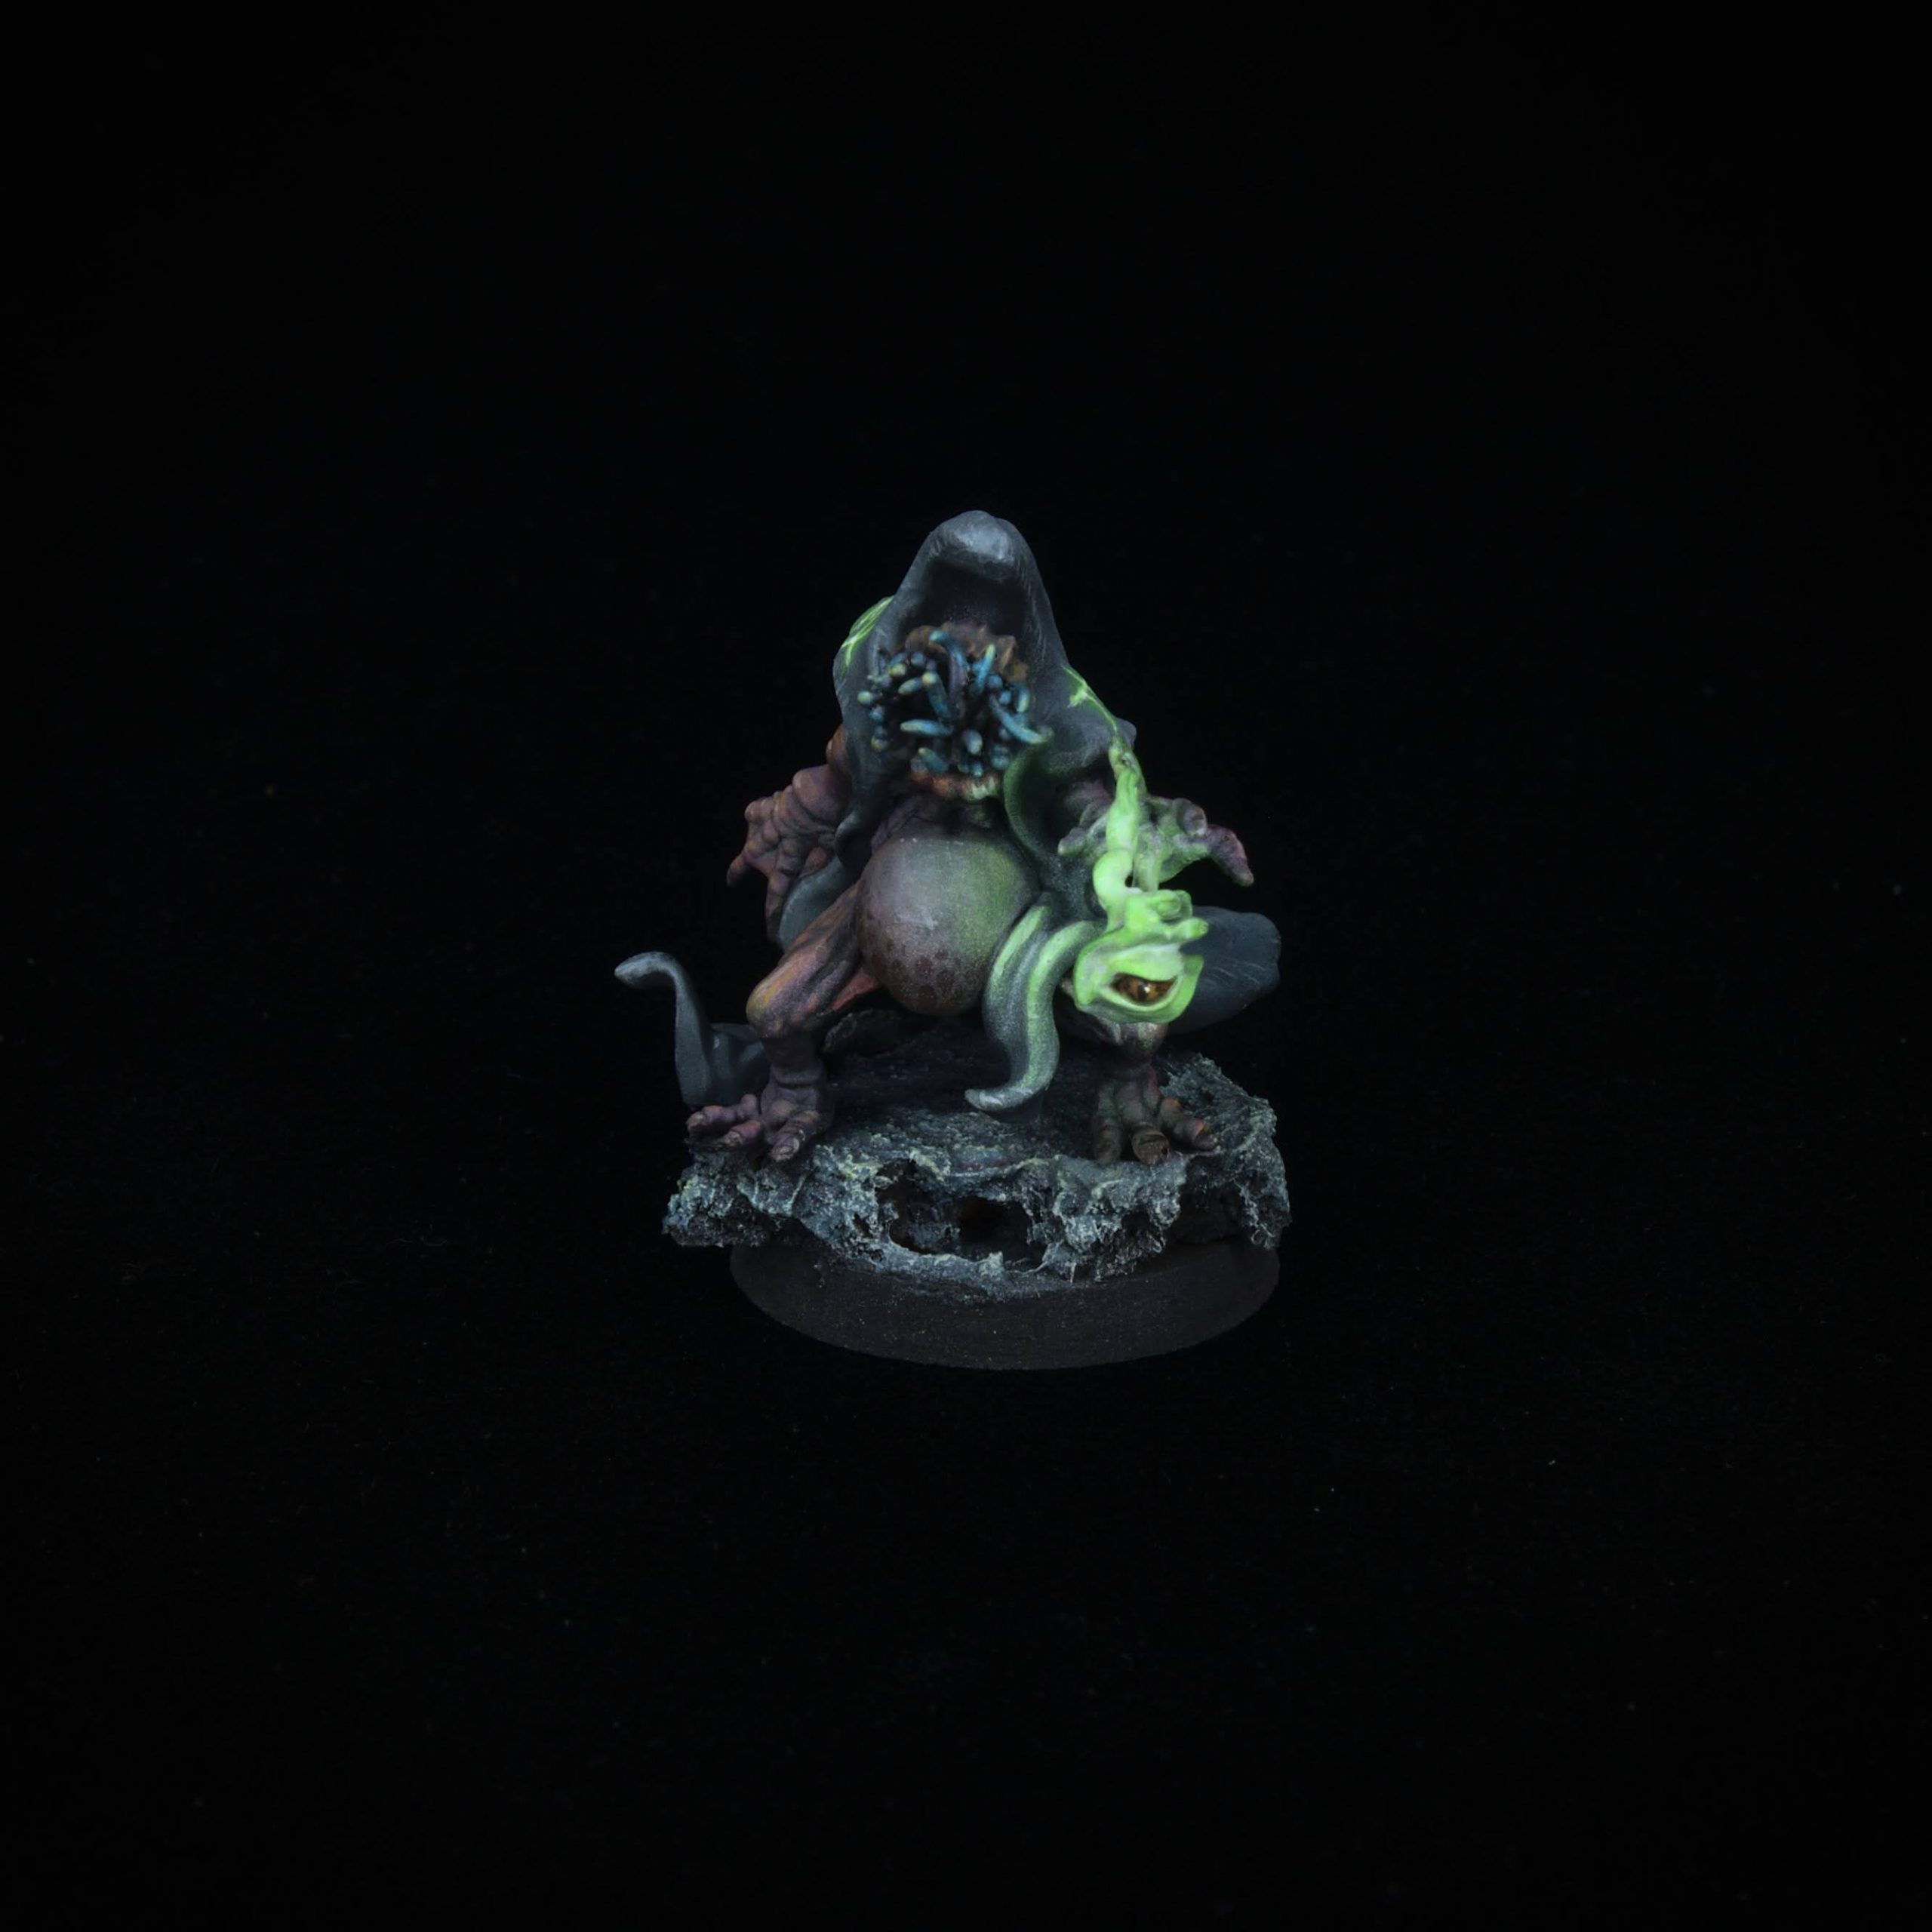
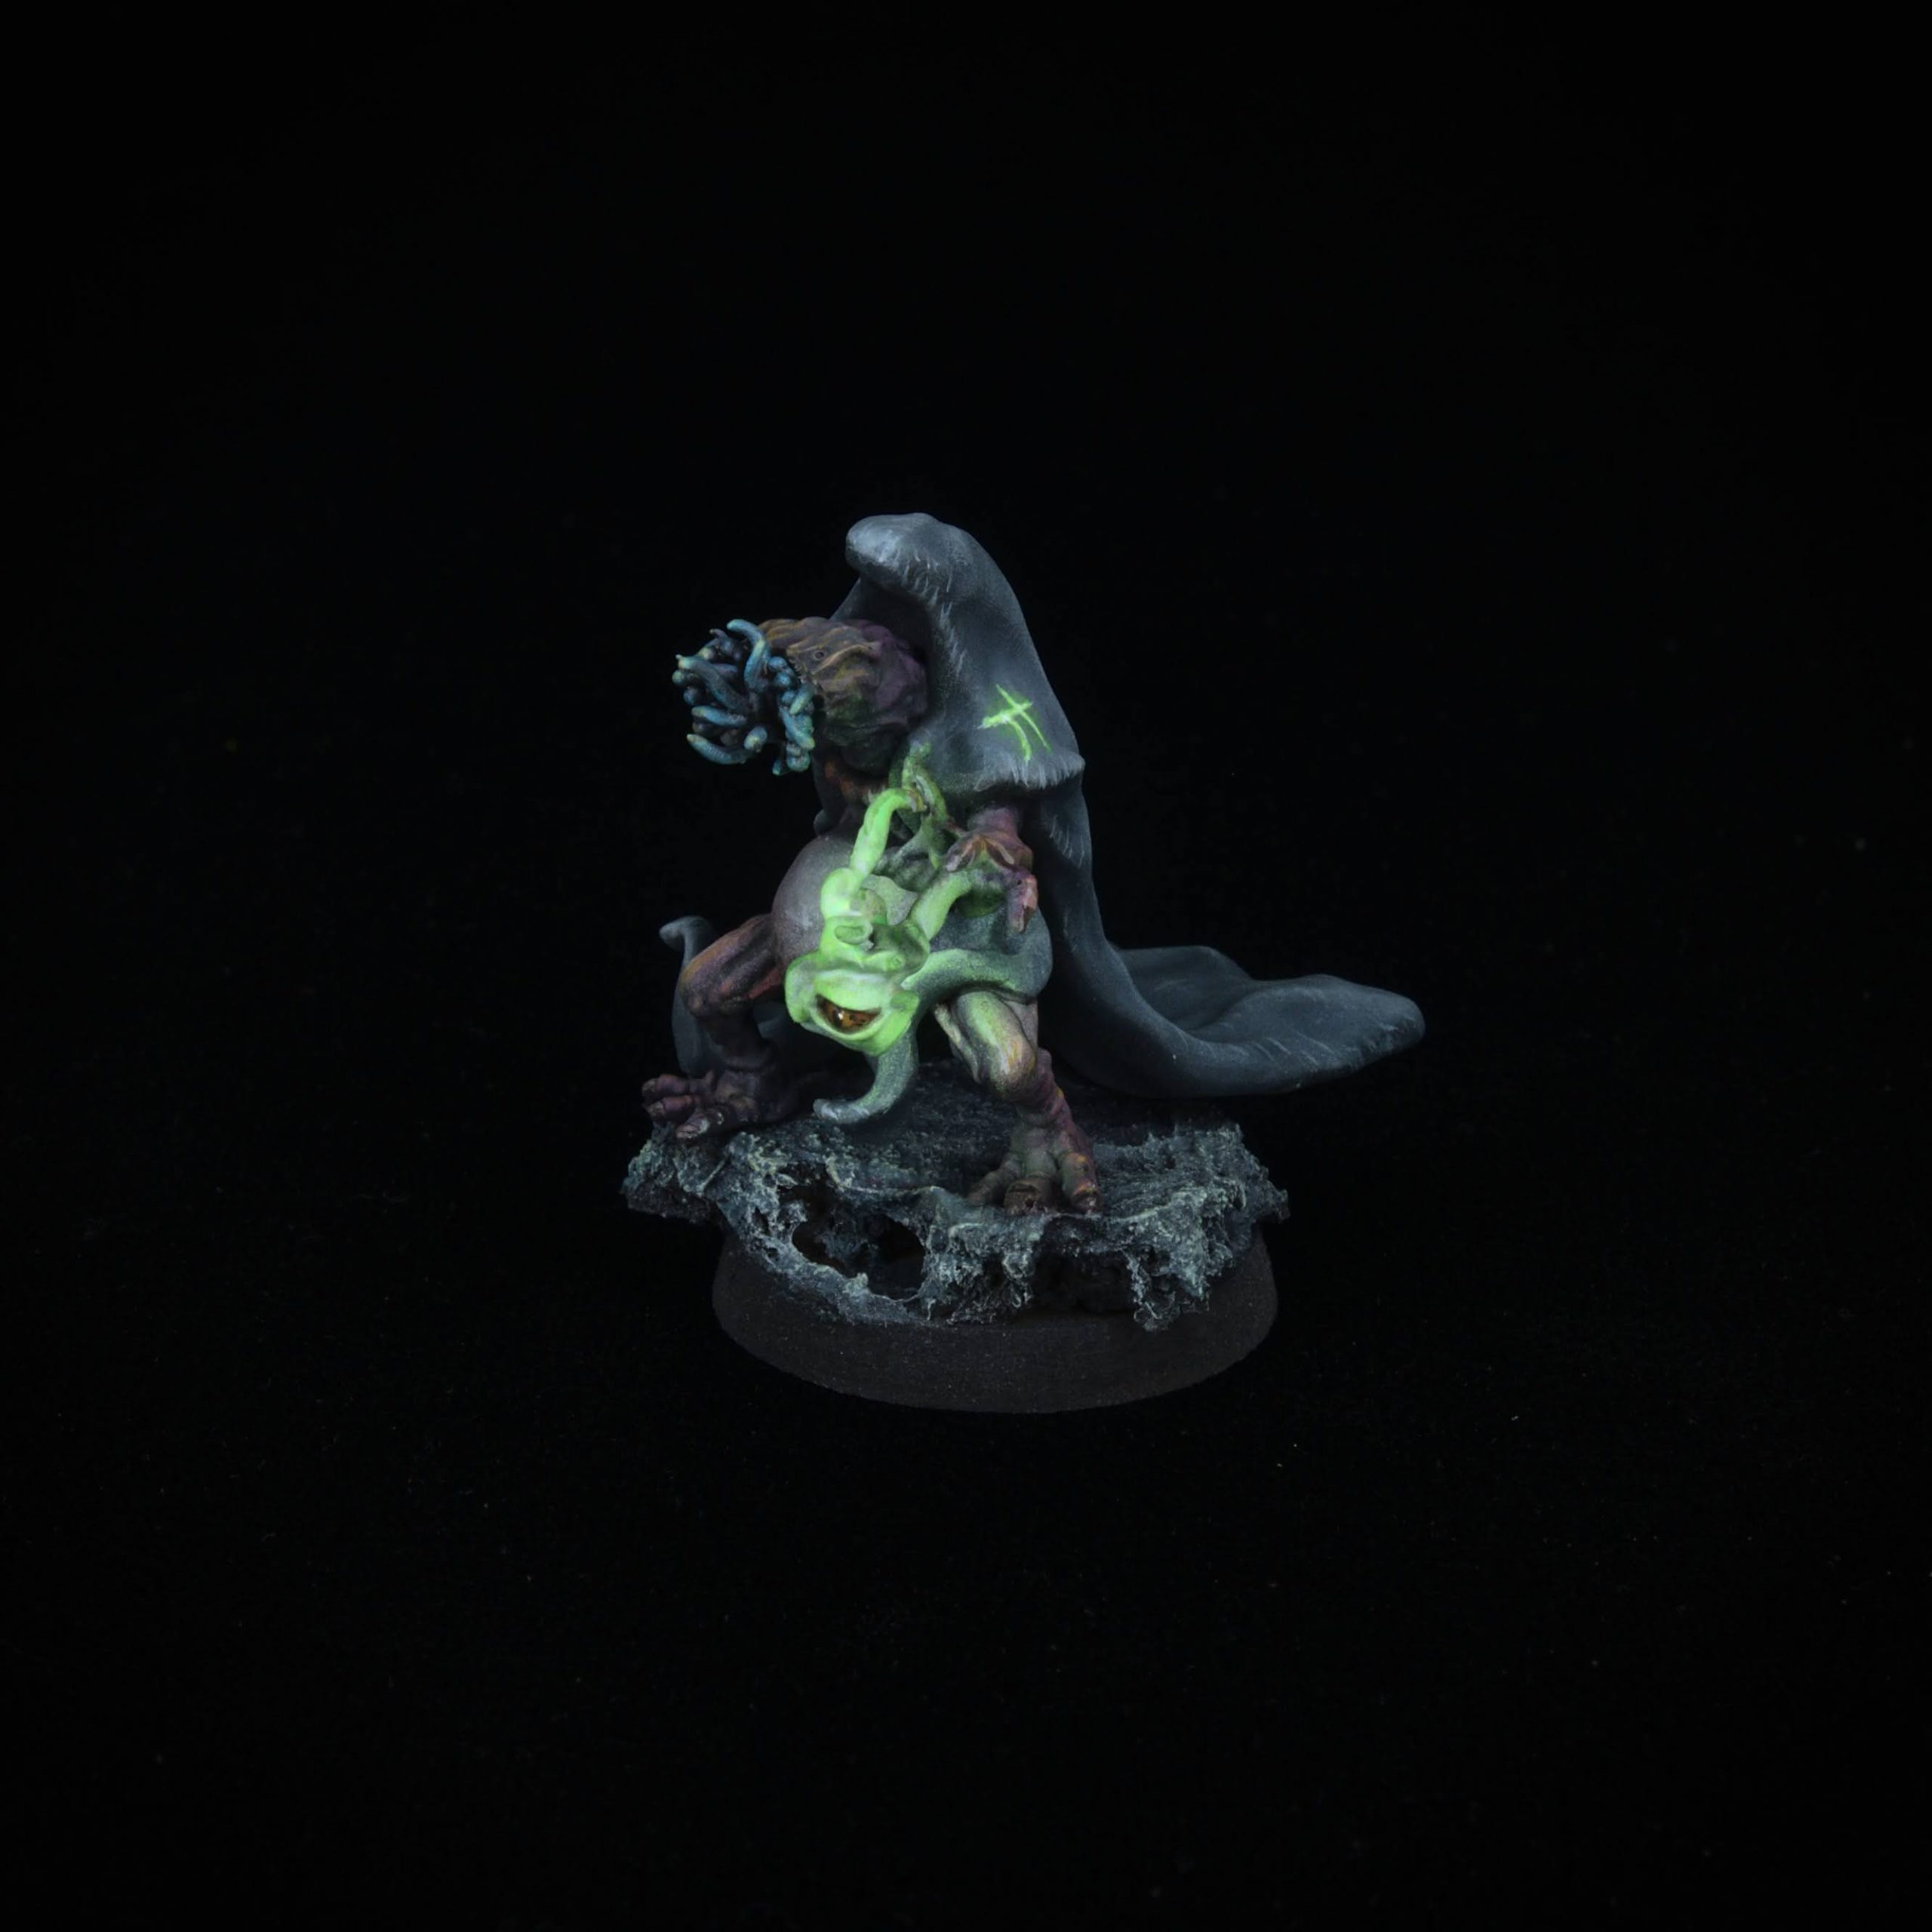
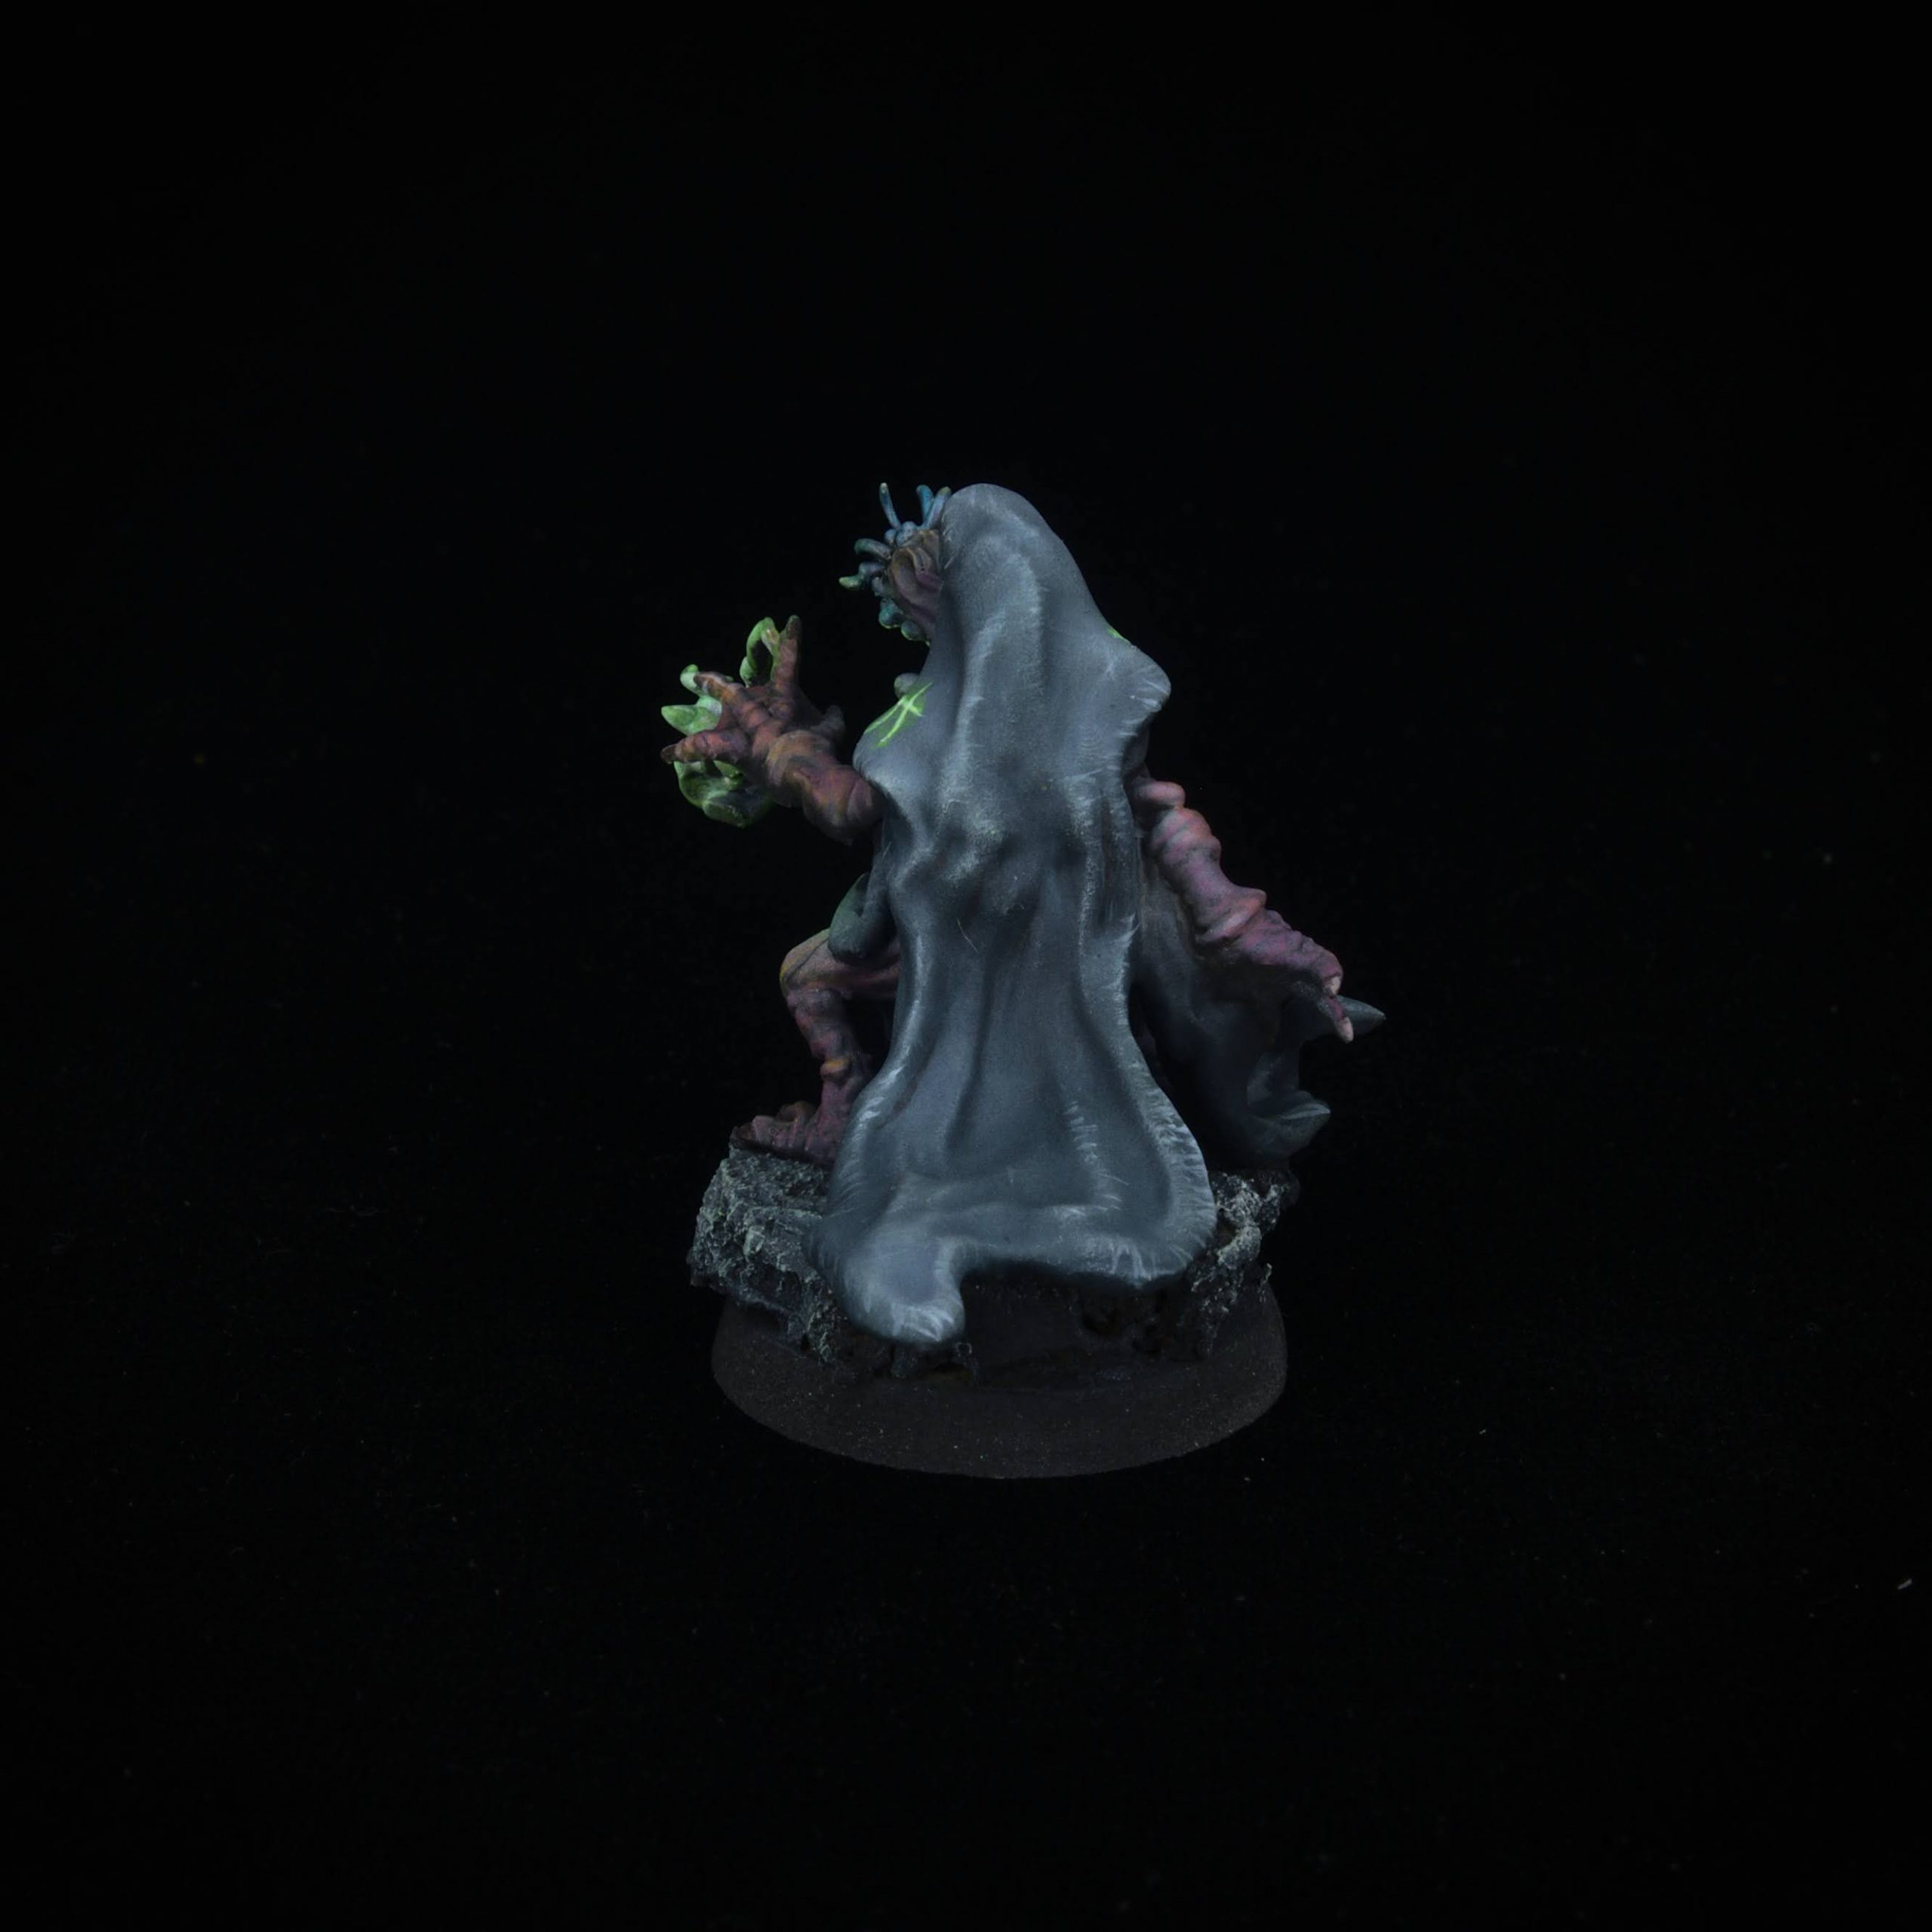
Miniature Spotlight: Goblin Pirate
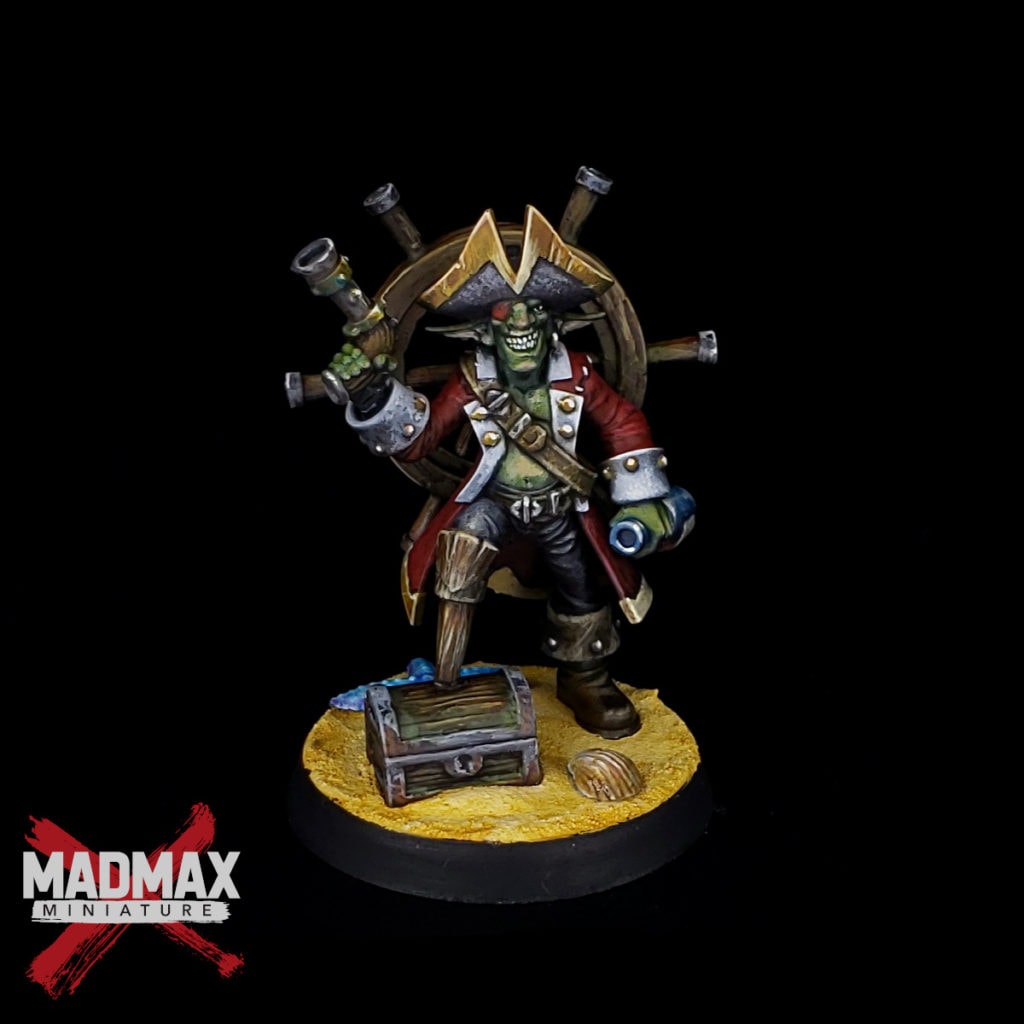
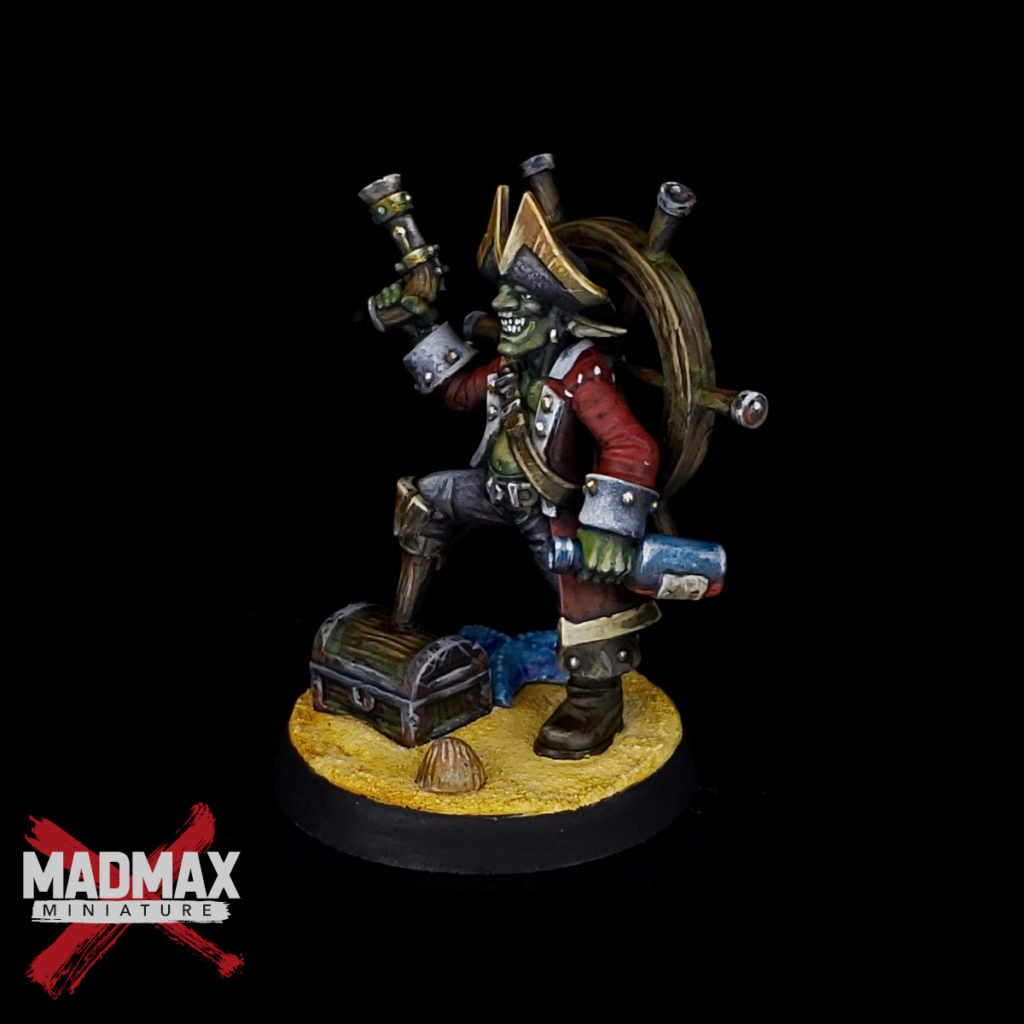
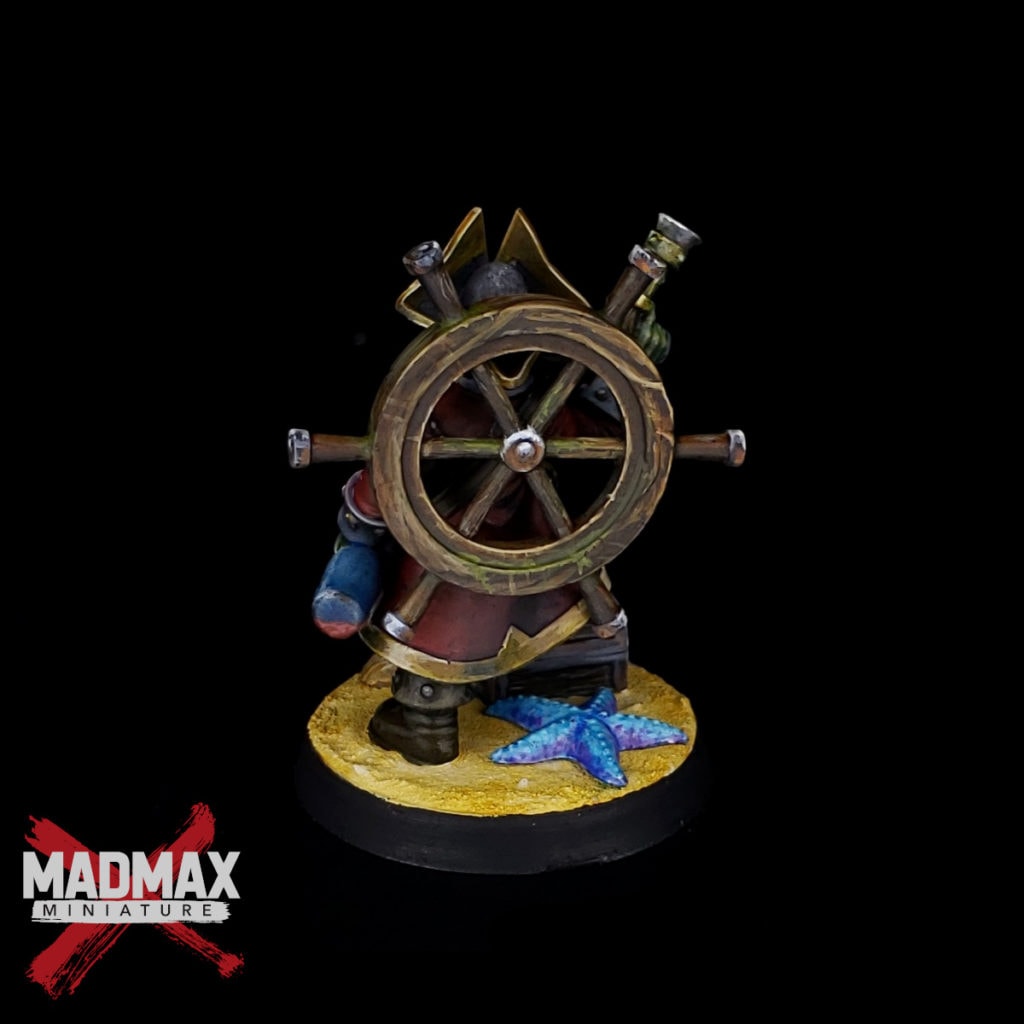
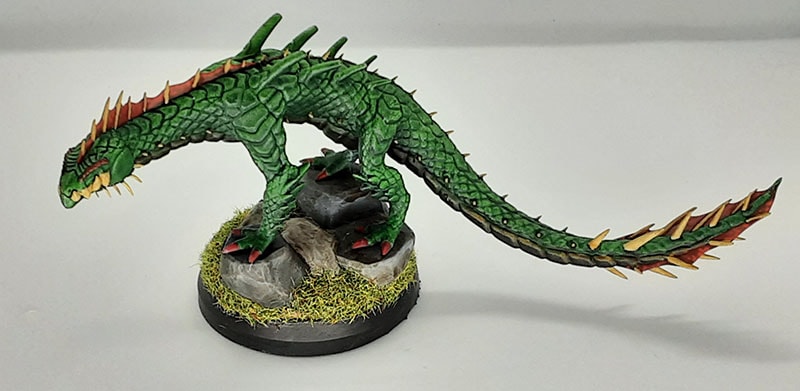
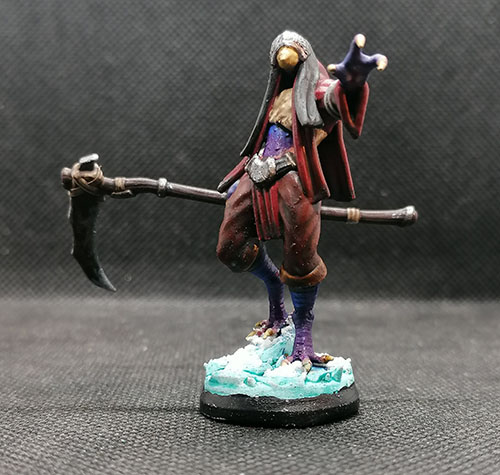
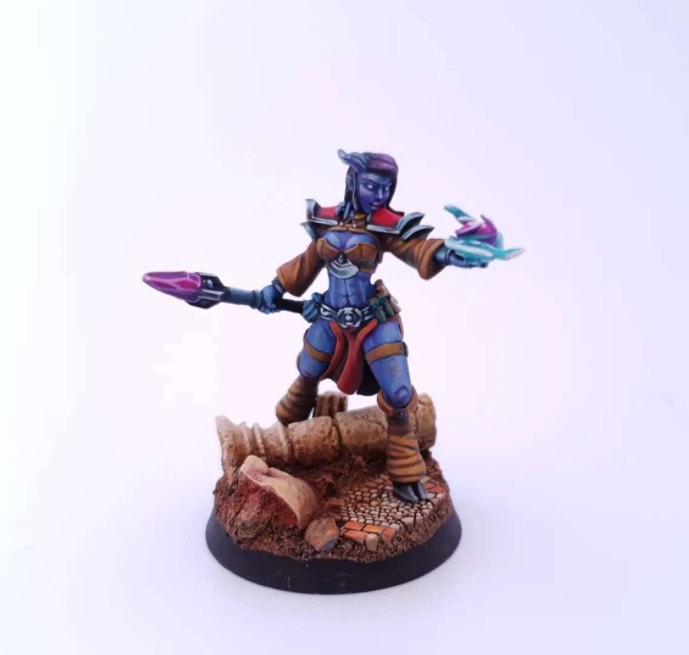
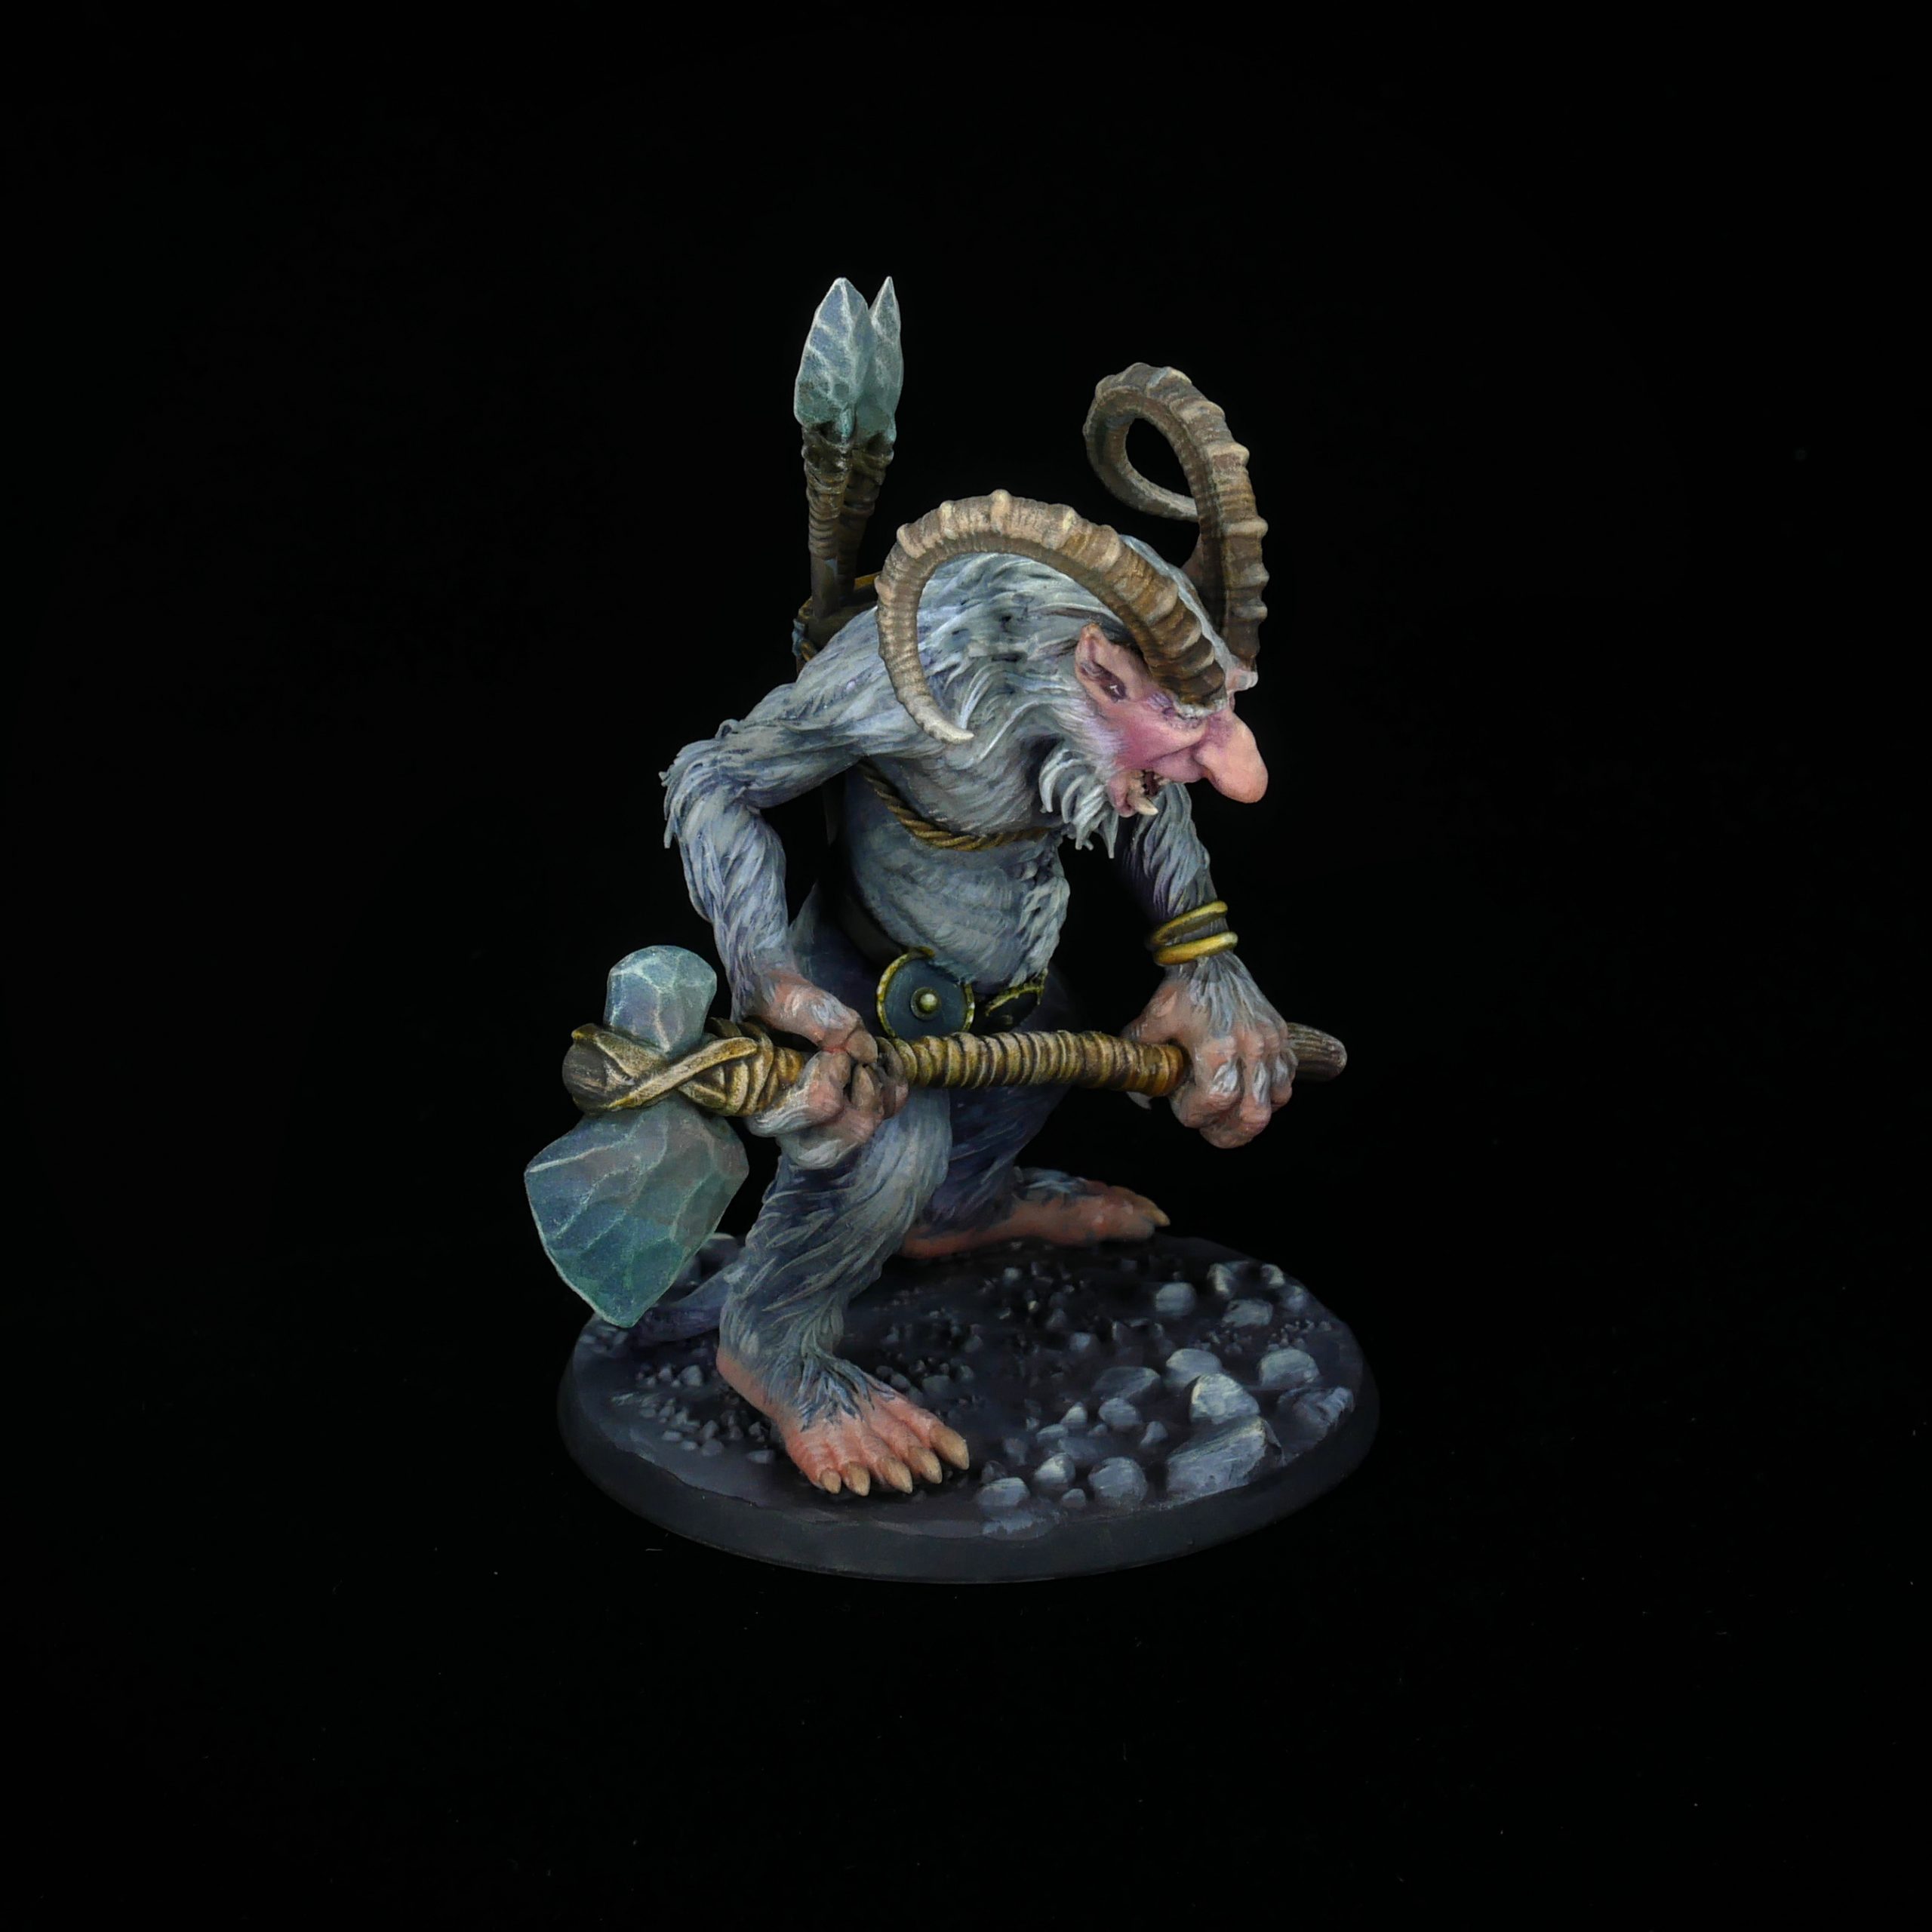
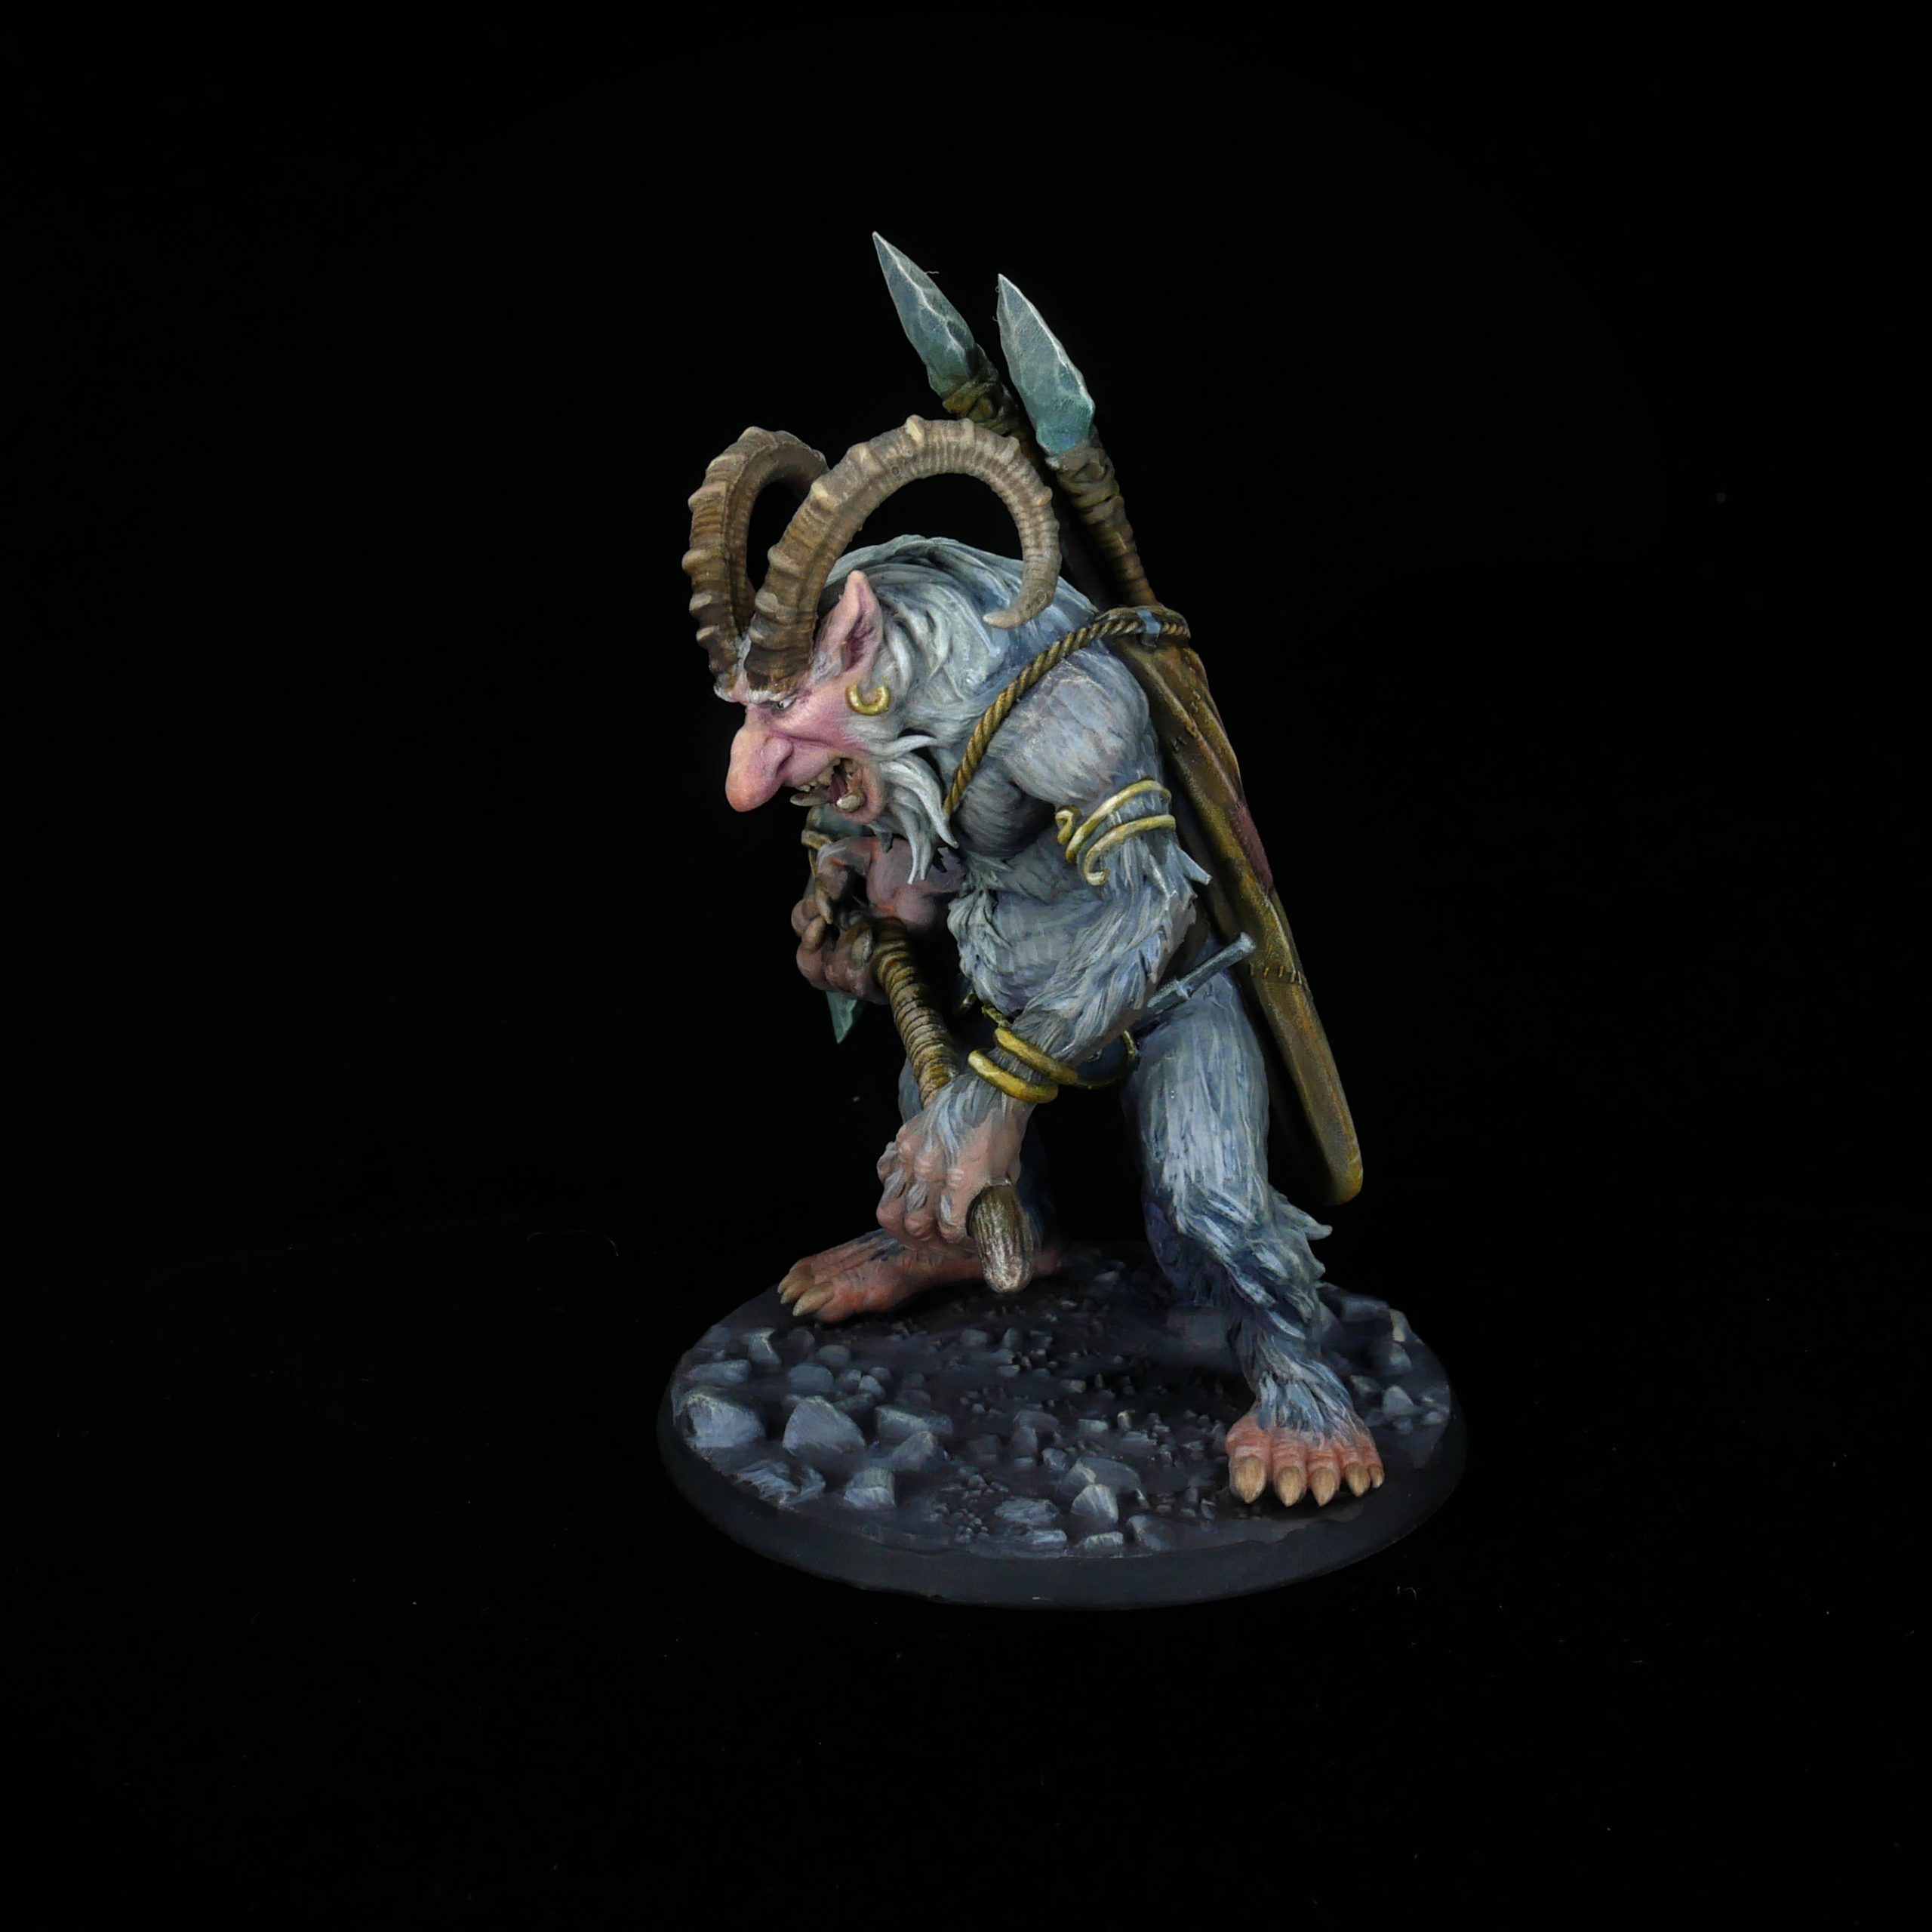
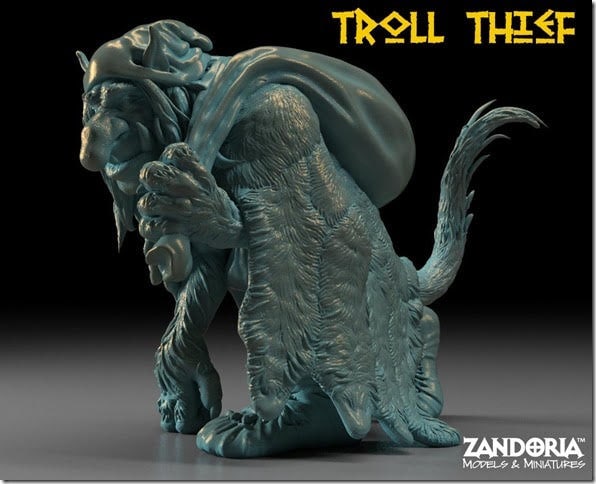
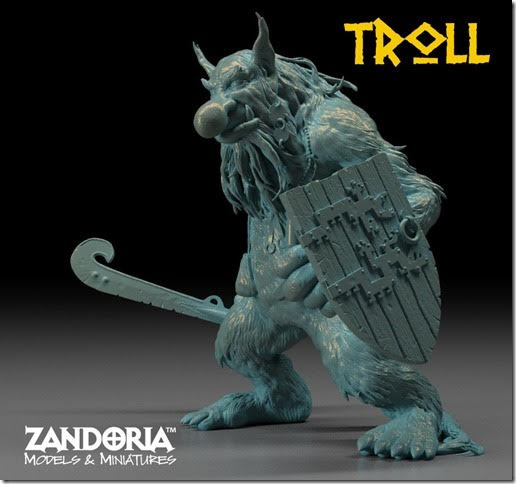
For every Artist Spotlight, we have one of the artist’s miniatures professionally painted. This months, we’ve asked our friend Max at MadMax Miniatures. Ash was kind enough to donate one of his models as a MiniHoarder exclusive. In fact, you can get this model for free just by signing up for our newsletter! After seeing this fella, I know exactly what I’ll be playing in my next D&D campaign!
MH: We almost always start with a name related question… that seems like a good spot to begin with today. Where did you come up with the name Ember Smith Creative?
ESC: I wish I could say this is an exciting story… Unfortunately, it is not. I just knew I wanted my name to be affiliated with my creations. So I created a giant spreadsheet of possibilities before basically narrowing it down to a small handful and picking at random. I added ‘Creative’ onto the end because I did not want to be locked into any one specific thing. I wanted to be free to go beyond creating miniatures if I ever felt the need.
MH: How did you get your launch into the world of digital model sculpting?
ESC: It’s a typical story of a man at a crossroads, unhappy and unfulfilled with the direction of my life and really not knowing what I wanted to do. Then one day driving to work, I heard an ad on the radio for a school called ‘Academy of Interactive Entertainment.’ The ad completely sold me on the possibility I could make games for a living.
So after completing my course… I wish I could say I was living the dream. Hell, I was even made lead artist/art director at the studios I worked at with my limited experience. Unfortunately, I was stuck in an incredibly competitive and underpaid industry working under constant crunch conditions and suffering from burnout. Creating games I really didn’t have much interest in, and having all my creativity squashed and thrown out the window to instead mirror existing trends under mostly poor and uninspired direction.
After a brief stint as an apprentice electrician, I found myself once again unfulfilled and hungry for creativity once again. Eventually, I found 3D printing and it has opened up so many new doors for me. I have found an industry I truly love with so many avenues and opportunities to express my creativity. The best part is all the awesome new friends I have made already and getting to meet and share my work with so many wonderful new people. It’s the genuine joy in people when they reach out to tell me how much they loved printing my work that really keeps me motivated.
MH: Can you tell us a bit about your creative process? Where do you get inspiration from, and what tools do you usually use to get the job done?
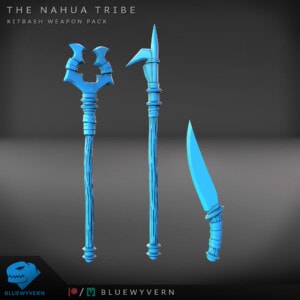
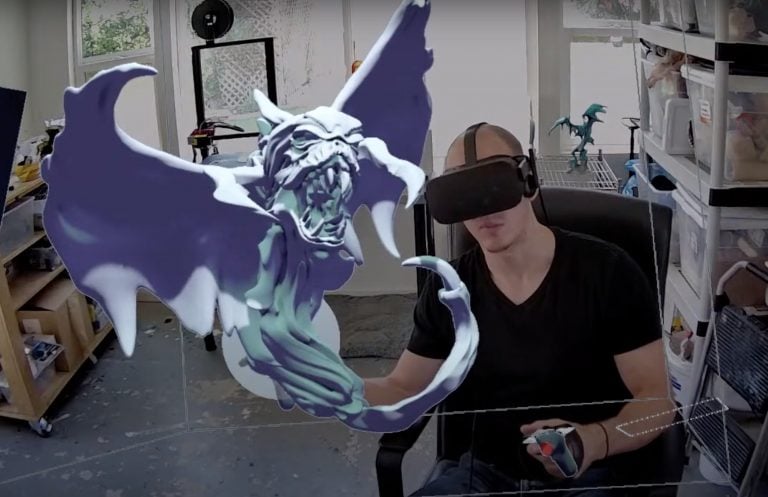
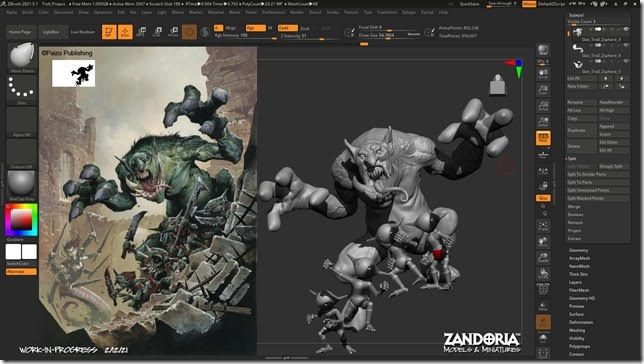
ESC: I draw a lot of inspiration from comics and video games, as you can probably tell, I really try to reflect that in my work. My favorite artist, like many others, is Joe Madureira. He’s the mastermind behind the Darksiders series, a series that inspired me to create art. Fantasy is my comfort zone, but I thoroughly enjoy the odd sci-fi model here or there. I work primarily in ZBrush for organic sculpting and utilize the modeling capabilities of blender for the hard surface stuff, such as armor, weapons, and props.
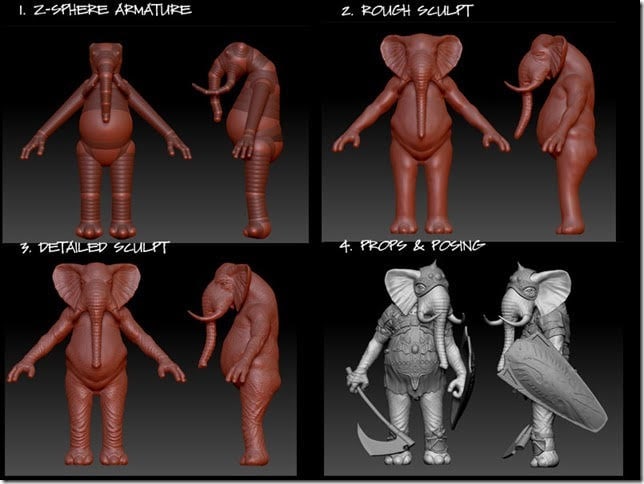
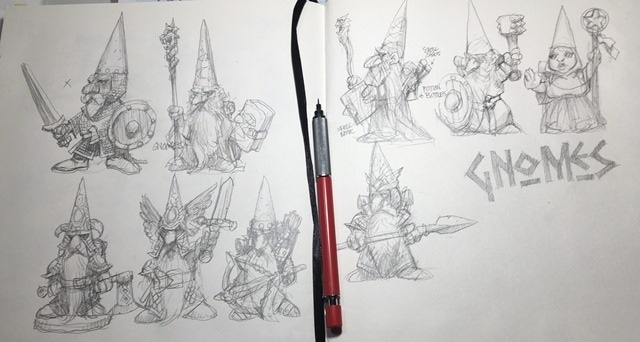
My process is heavily derived from game asset creation. Starting with a concept sketching in photoshop. I start with either a base mesh or a simple primitive in ZBrush, blocking out the anatomy and character design in a neutral A pose before posing the final miniature. At this early stage I ALWAYS keep my geometry resolution very low (often under 50k points per subtool for those wondering). This is very important for beginners to get used to, because it is far easier to manipulate the mesh and keep it clean when you have fewer vertices to move around. I often have artists approach me to ask how I keep my surfaces so clean and refuse to believe the answer I give them. It is simply working at a lower resolution to define and control your shapes. Trust me, I used to jump to one million points immediately too, when I first started sculpting.
After posing the character, I clean up all the anatomy and subtools that have been deformed by the mannequin process of posing before I begin to really have fun with expressing and exaggerating the anatomy. It is at this phase I have the most fun, portraying dynamic motion and expression while trying to ground a story into one single still 3D image. I may slightly break or push the initial anatomy as long as it remains believable if it helps to create a better piece. So don’t be scared to experiment.
Once I am happy with the model, I will use ZBrush’s Boolean feature to combine the model together and clean up any rat nests of stray geometry or resin traps inside the mesh that may throw errors in my slicer or cause problems for people during print.
Then, we support and we print… then repeat the process another 20+ times to compile a successful Kickstarter campaign, lol.
MH: Is there anything unique or special about your workflow when you’re sculpting? Do you listen to odd music, have any rituals that you do, or anything like that?
ESC: If you count procrastinating and scrolling through Facebook for about an hour before I start the workday… Then sure that’s my ritual lol. I am a bit of a procrastinator, but once I start I am very hard to stop.
My music choices while creating may be odd to some people, yet probably not unexpected. I really have to find ambient music that puts me in the mood for what I am sculpting, mostly chill lo-fi or epic theatrical scores. I love me some Hans Zimmer and on the extra odd occasion, I may even listen to calming jungle sounds or something for ambiance, lol. I have found that all of my favorite mainstream music that has words is a little distracting, but I also can’t work in silence.
An interesting plan I have once Goblinz: Mischief and Madness wraps up, is that I plan to get my iPad fixed (my brother rudely broke the screen and did not fix it!). Head down to the local/nearest river, plop in my fishing rod and just sketch my characters as a way to escape the 4 walls of my office and create in a stress-free environment… I don’t really care if I catch a fish or not, lol.

MH: What advice do you have for aspiring artists looking to move forward with their creative careers?
ESC: Oh gosh, there are so many things I could say. If I could give just one piece of advice today, I would say something hopefully smart and philosophical, like…
Becoming an artist is one of the hardest things to do, but if you enjoy it, it is the most rewarding. You will face many adversities and art blocks, but understand as long as keep creating (AND COMPLETING!!) you will overcome every obstacle art has to throw at you (actively reflecting and improving on your work can help speed this process up). So don’t compare your work with others and how far along they are. Art is a skill, and skills are learned not inherited.
A bonus tip just because it follows on from that – Art is an exercise of visual observation. It is a muscle that can be trained and you should always be trying to exercise it.
MH: What can we expect next from Ember Smith Creative?
ESC: Well, one thing about me is that I love to share knowledge of the things I am passionate about. I have always loved helping my artist friends overcome their art blocks.
Currently, my plate is very full, but, I am hoping that sooner rather than later I will open up a workshop and mentoring service for character creation. Targeting beginner to intermediate artists. Covering all pipelines from game development to 3D printing for tabletop, from the anatomy of a polygon to fundamentals of character design.
As for the more immediate future. While I still have a few tabletop miniature collections I am focusing on building, I am really eager to get back to my game development roots and get to work on some ideas for print and play games that I think are going to be incredibly exciting. I certainly feel like the hobby of 3D printing is only growing and it is the future of product delivery. I am incredibly excited to be on the front lines of that.


